Articles
Tutorials
Interactive Guides
Automatic incident management with Jira and Statuspage

Kev Zettler
Full stack web developer, DevOps
Learn how to use Jira automation rules to automatically sync Statuspage to Jira issues.
Time
5 minute read.
Audience
You’re an experienced user of Jira Software and have a Statuspage account.
Prerequisites
You will need an active Jira project with a custom task type of “Incident” and a custom field “Incident ID”. Get started with Jira here.
You will need a Statuspage account with API access enabled. You will also need your Statuspage API key and Page Code to configure the following automation rules. Check out the Statuspage API guide to locate your Statuspage API keys. Get started with Statuspage here.
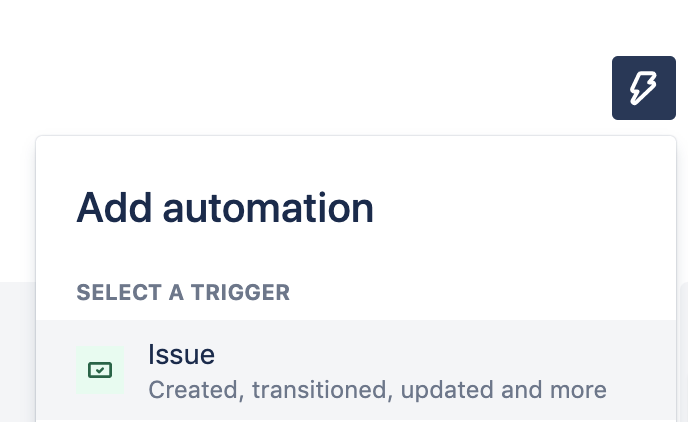
Step 1. Add automation
Click the Add automation button and then select the Issue option.
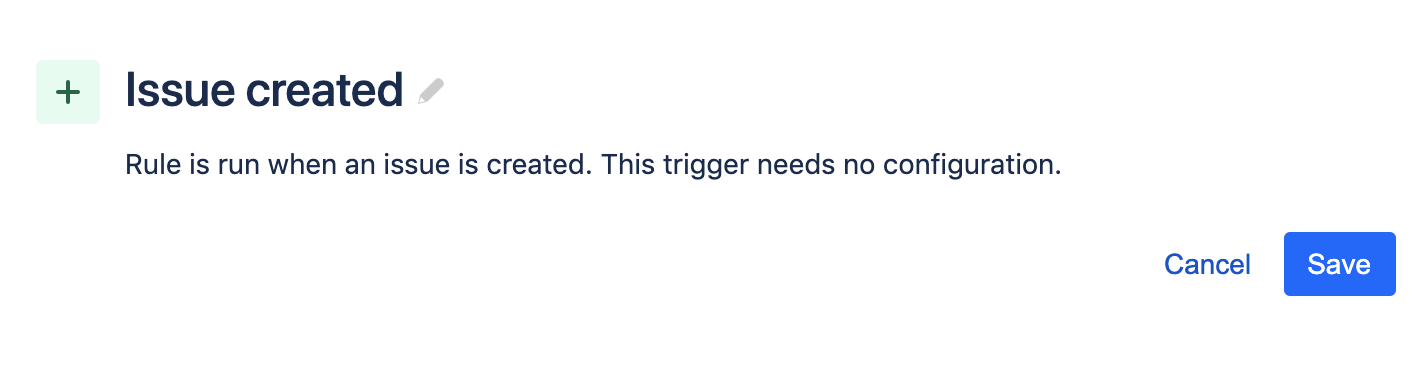
Search for and select Issue created.
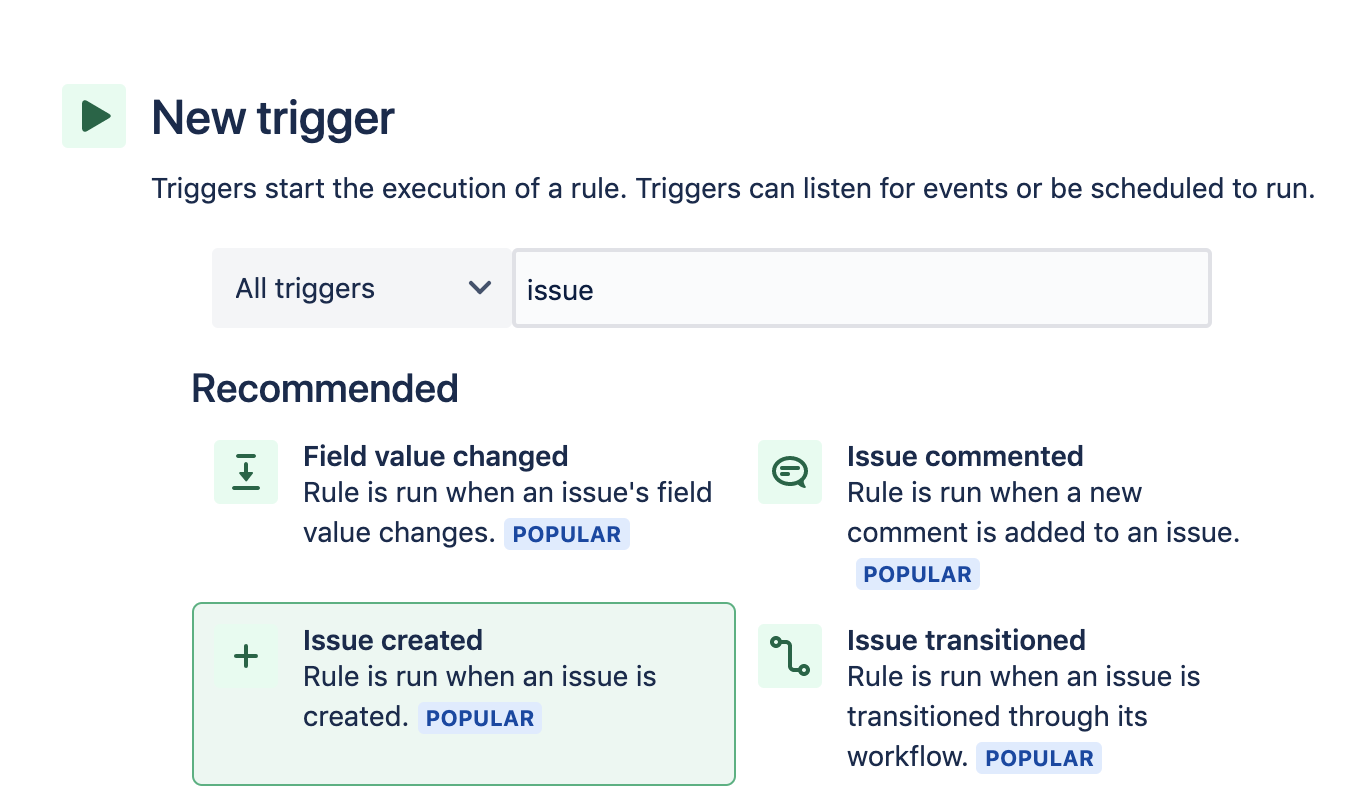
Click the Save button to continue.
Step 2. Create a new condition
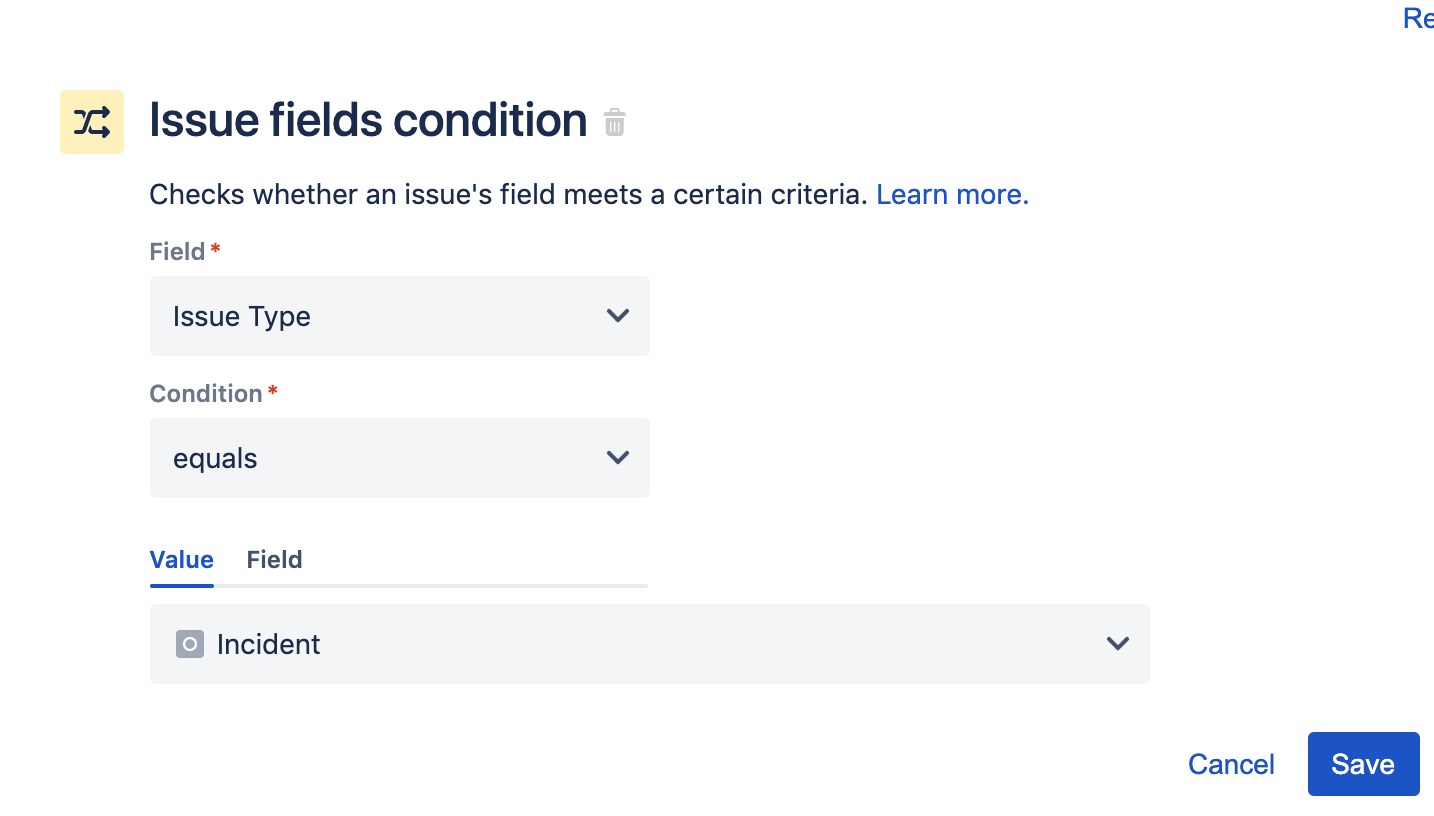
Next, search for and select the Issue fields condition.
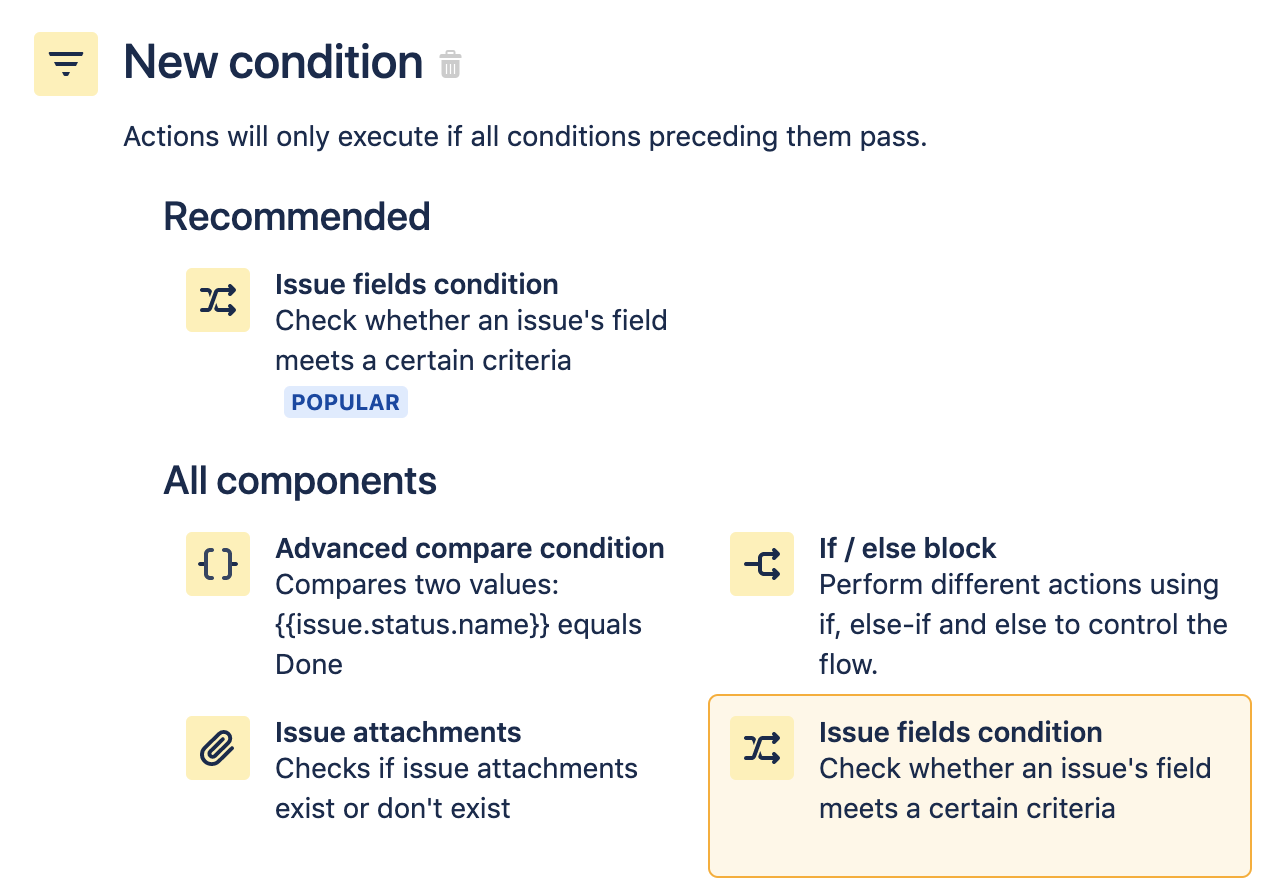
Use the Issue fields condition to check if the issue type is an Incident and act accordingly. Configure the Issue fields condition so the Issue Type field is equal to Incident. Click Save to continue.
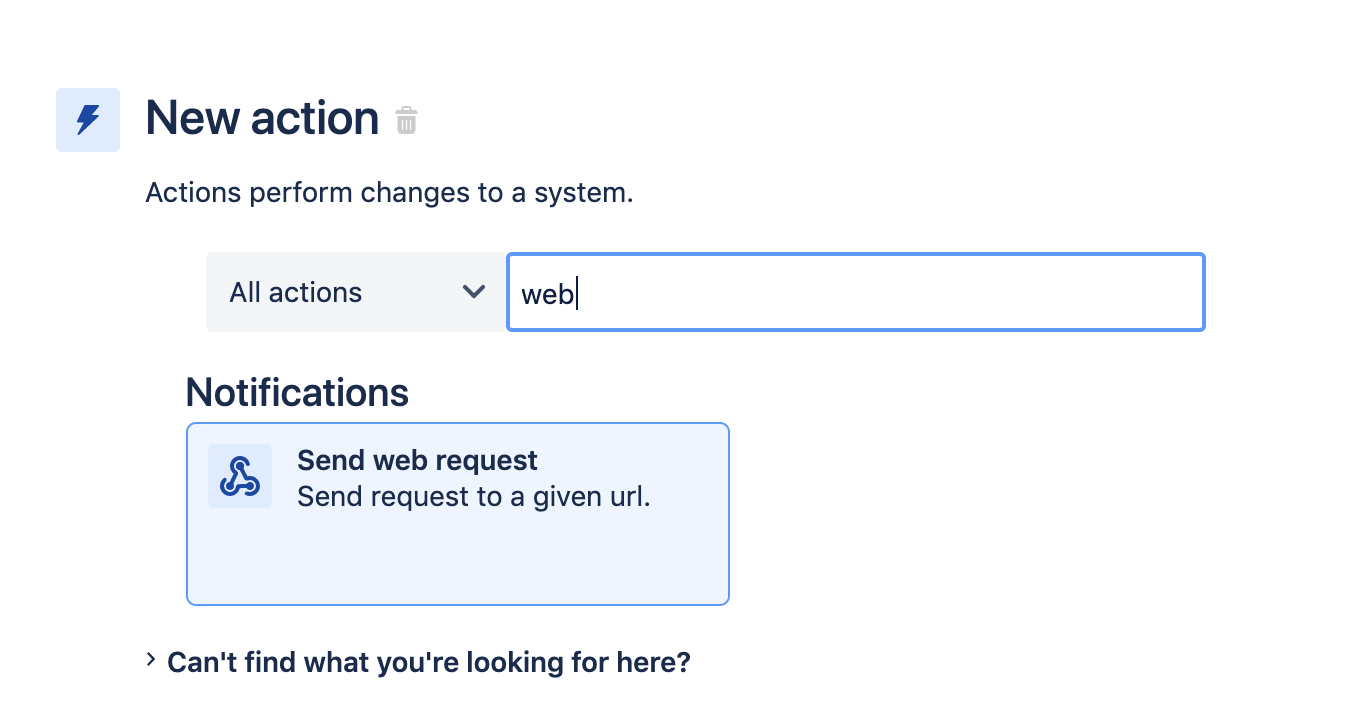
Step 3. Send a web request
Select the Send web request, which will update Statuspage.
To configure the Send web request action you will need your Statuspage API key and page code. These values can be found in the Statuspage documentation. Send web request is an advanced action with sensitive input values. Later in this guide, this action will be reproduced in additional rules, and will reference this configuration.
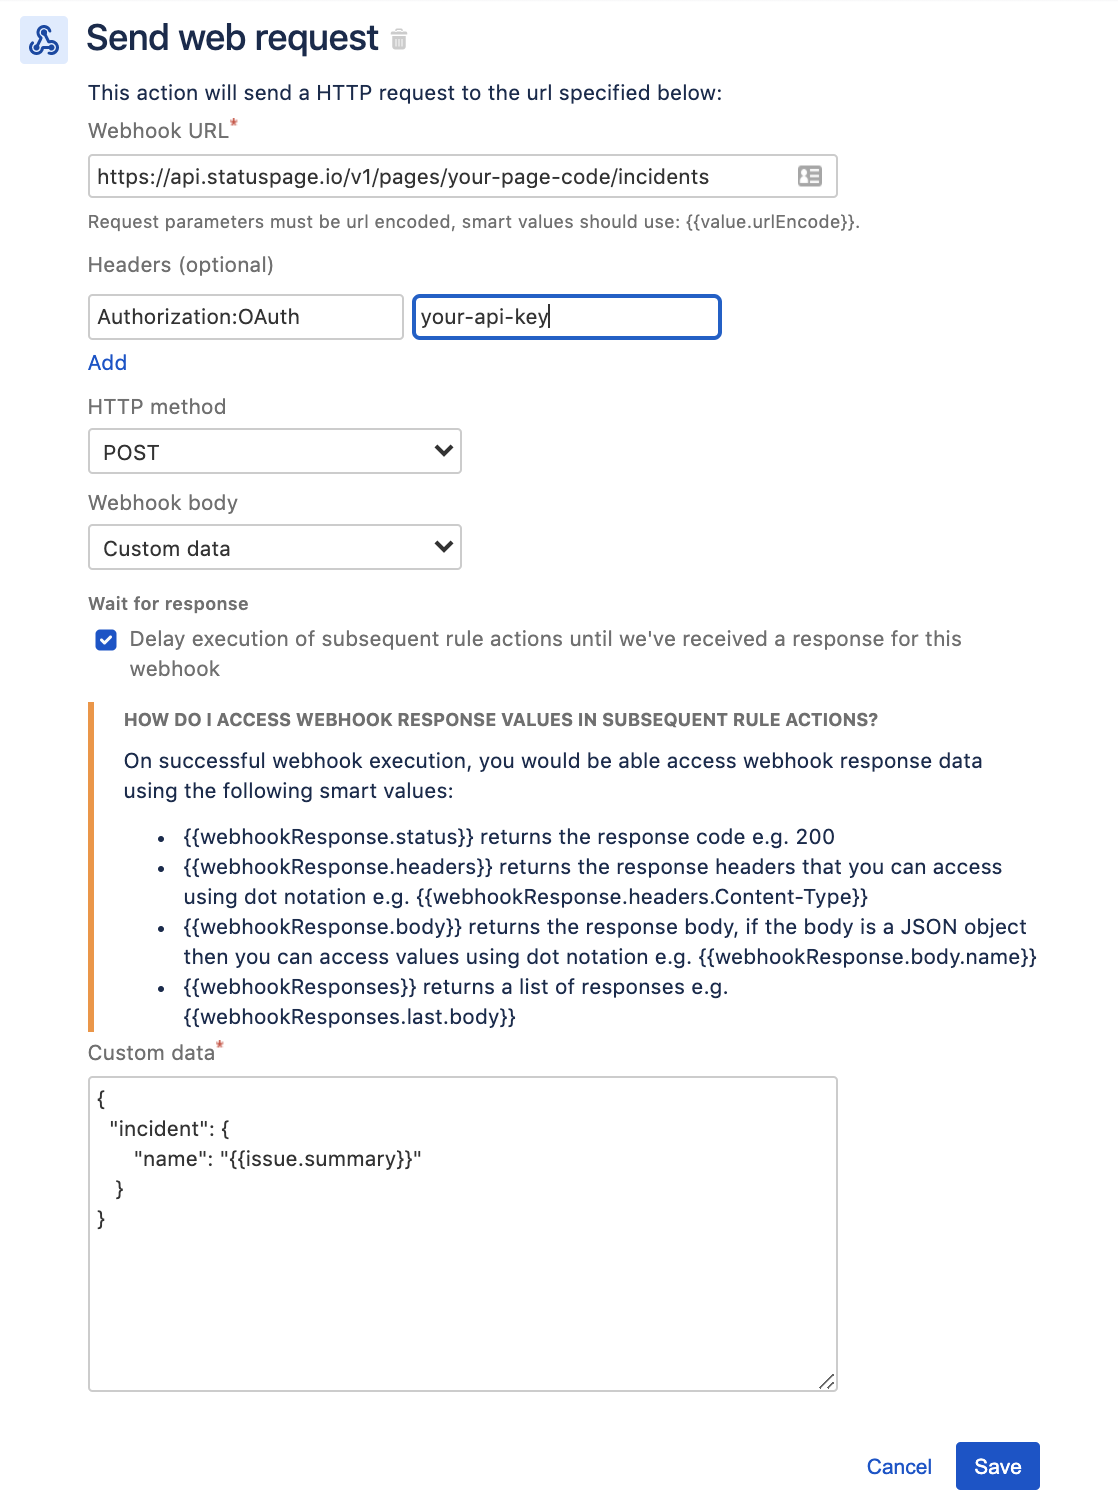
In the Webhook URL field, enter the URL of the Statuspage incidents endpoint:
https://api.Statuspage.io/v1/pages/your-page-code/incidents
Replace the your-page-code placeholder with your Statuspage page code. In the headers section, enter Authorization:OAuth and your API key into the two header fields.
Set the HTTP Method to POST and set the Webhook body to Custom Data.
Make sure you check the Wait For Response check box since you will use values from the web request response in additional components.
The Custom Data field includes code that defines an incident payload for the Statuspage API. This code uses smart values to extract and add the issue summary to the payload. The following screenshot displays the complete configuration of the Send web request action. Click Save to continue.
Step 4. Create Edit Issue action
Finally, search for and select the Edit Issue action.
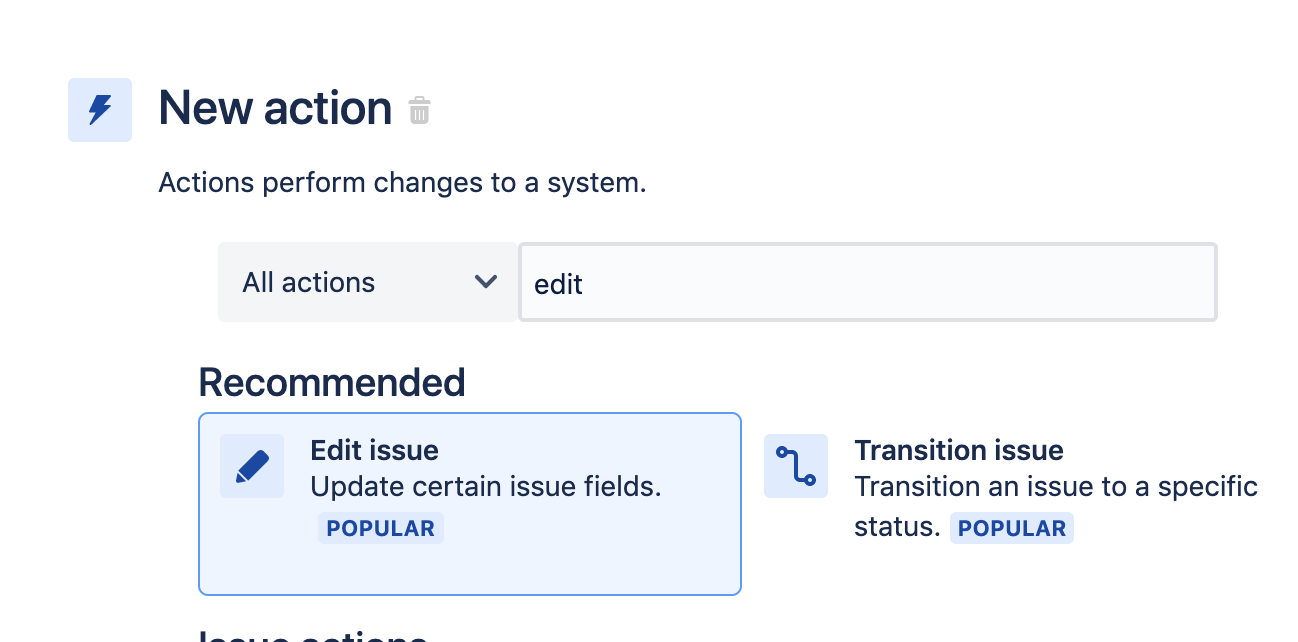
The Edit Issue action extracts the Incident ID from the Statuspage request and stores it in a Incident ID custom field. The Incident ID is extracted using smart values. The following screenshot demonstrates how to configure this Edit Issue component.
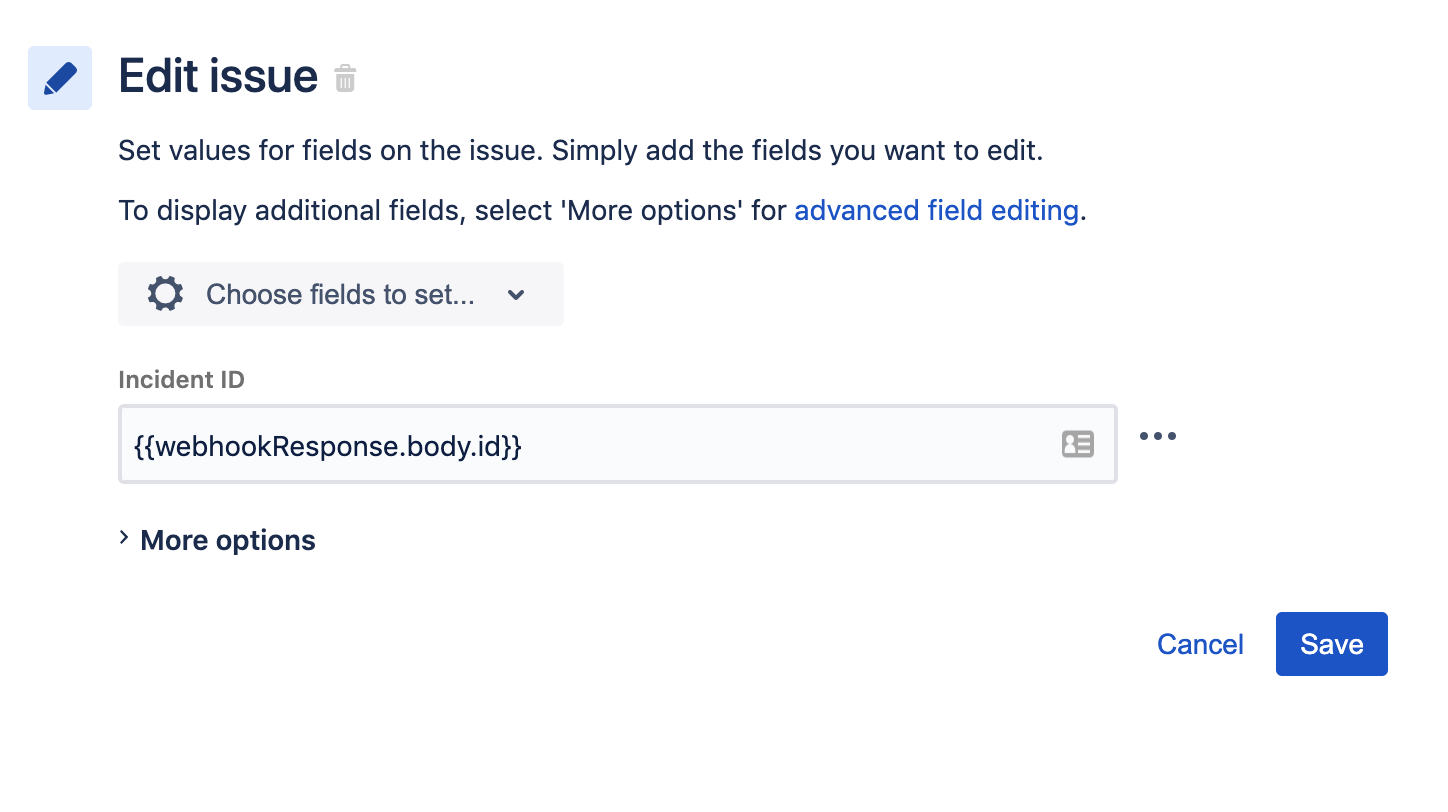
The following screenshot displays the final summary of this rule.
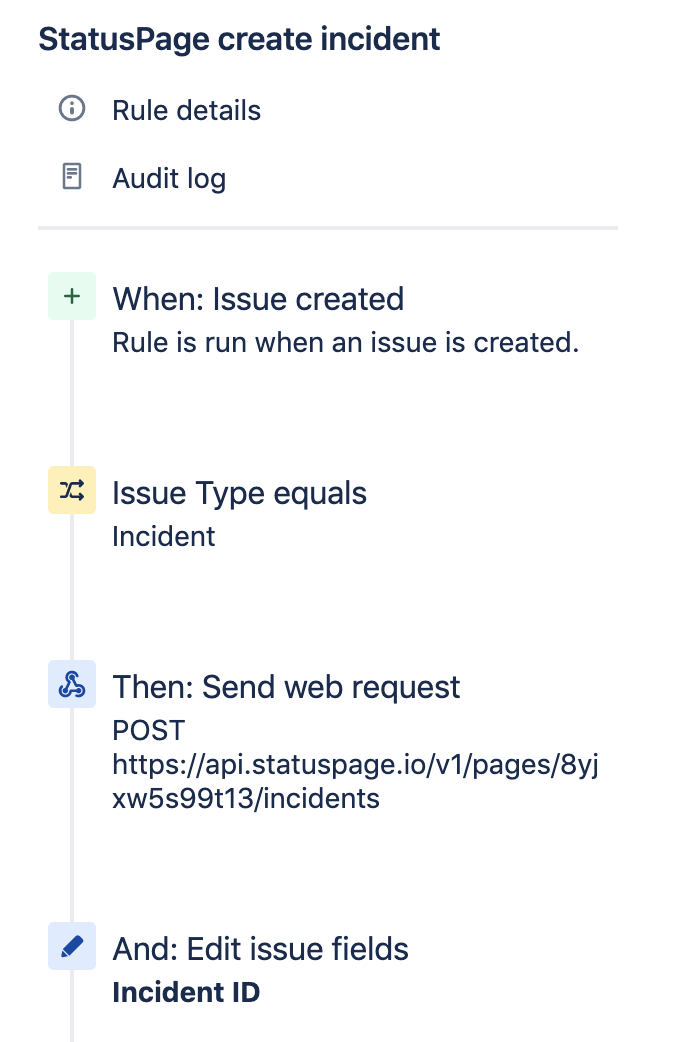
This rule is now ready to be enabled. Enter a name for this rule and click the Turn it on button. Data from this rule will be used to create the following rules.
Update Statuspage when issue is commented upon
This next rule is triggered when a comment is left on an “Incident” issue type. A web request is made to Statuspage that updates the corresponding incident with the content of the comment. The following image displays the summary of components for this rule.
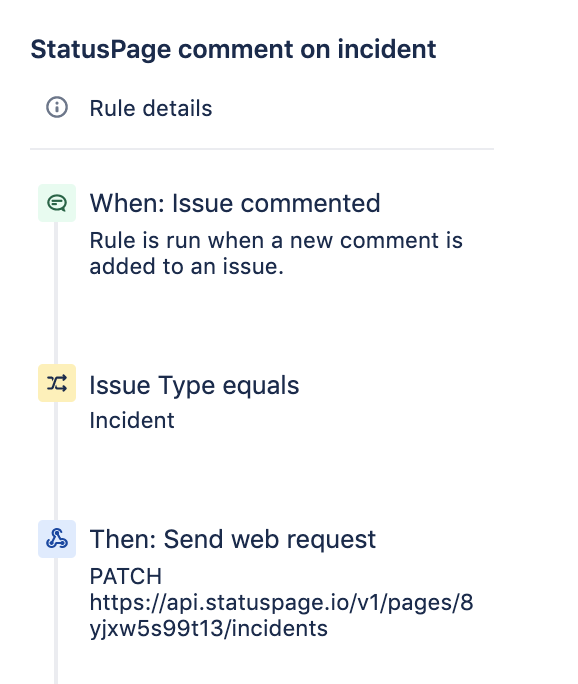
The important component to review in this rule is the Send web request action. This action is copied from the previous rule but with some changes.
The Webhook URL was appended with /{{issue.incident_id}}. Smart values are used to pull the Incident ID custom field from the issue and pass it to Statuspage as the target of the web request.
The HTTP method is now set to PATCH instead of POST. This tells Statuspage to update an existing incident instead of creating a new one.
The custom data field is changed to include code that uses smart values to extract the comment body from the issue and put it into the content body of the incident.
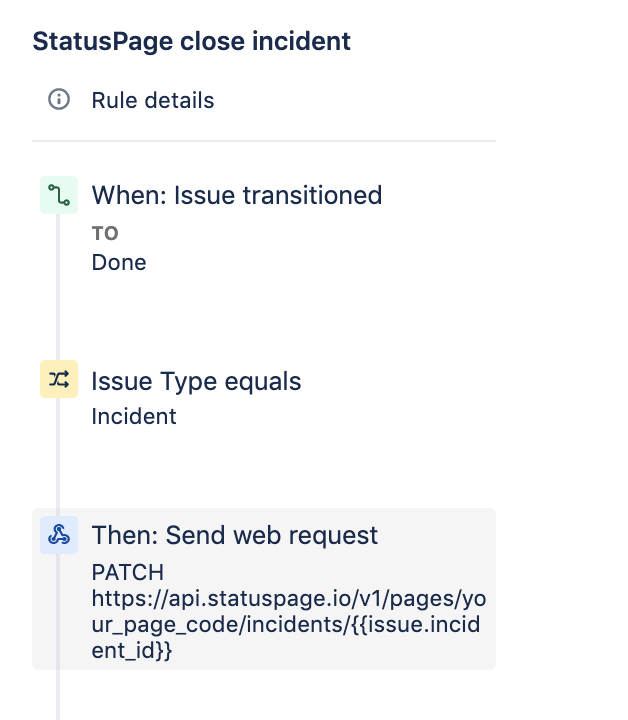
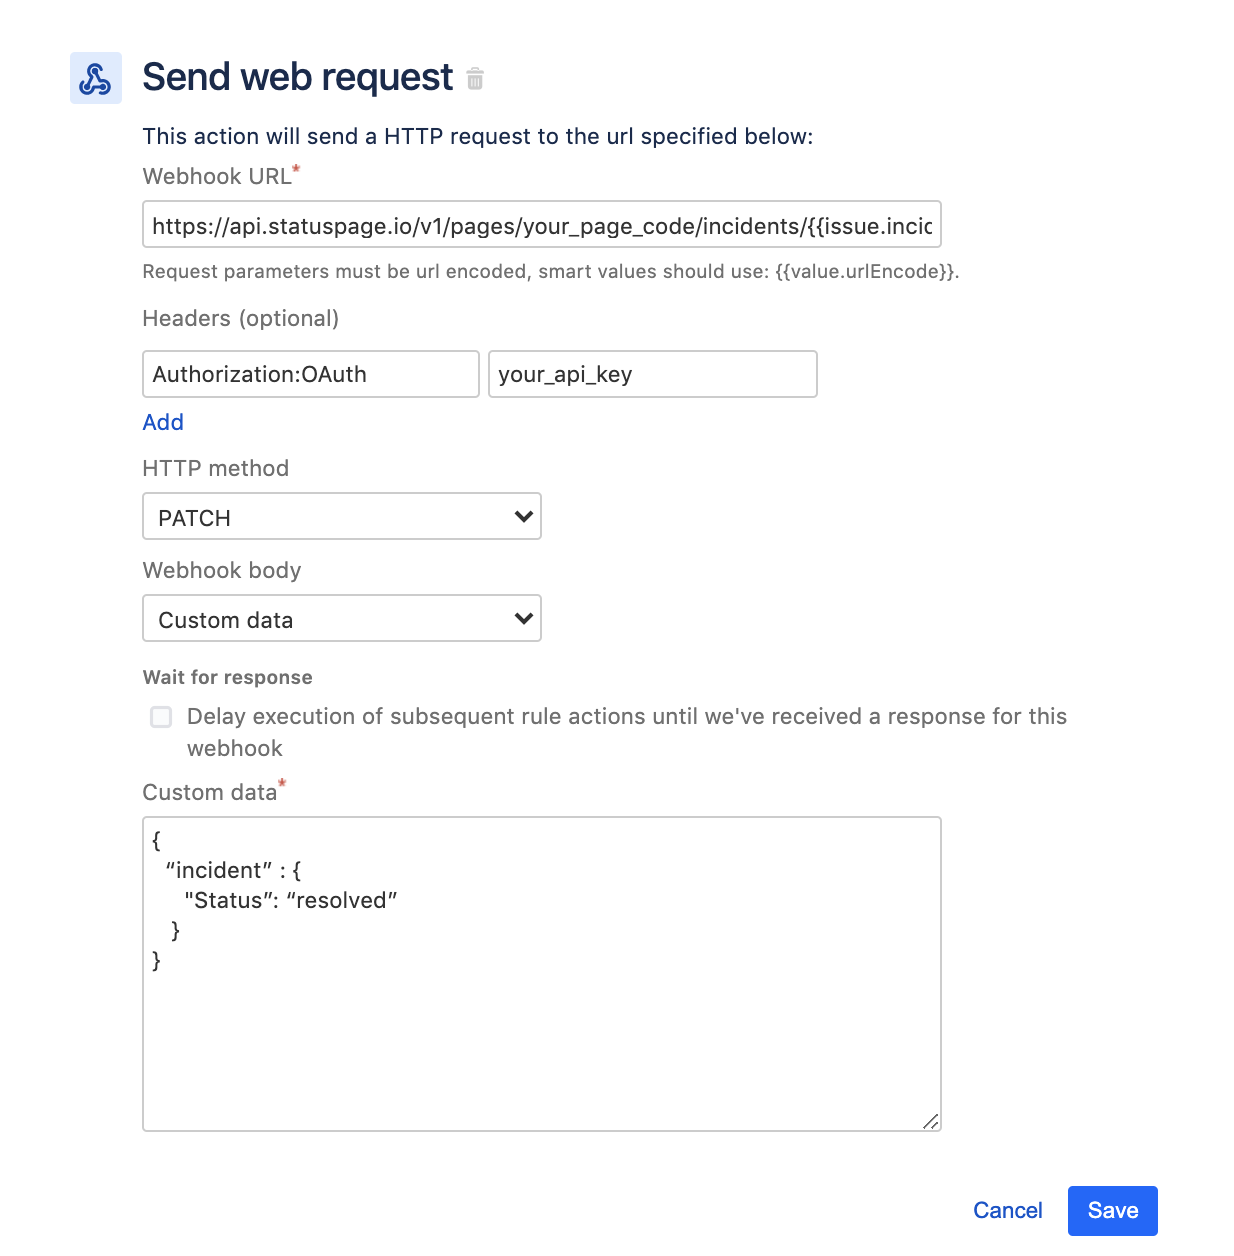
Close Statuspage incident when issue transitions to done
This last rule ties them all together. This rule tells Statuspage that an incident is resolved when the corresponding Jira issue is moved to Done. The following image displays the rule summary.
The web request component has once again been copied and modified from the previous rules.
The custom data field was modified to set the incident status to “Resolved”. This is the only modification from the previous comment rule.
These rules are now ready for use. You can test these rules out by creating Incident type issues and performing trigger interactions. You can monitor the behavior of the rules in the automation Audit Log, which provides logging and information into the behavior of the rules. The automation rules demonstrated in this guide are great examples of advanced web request API usage rules.
Check out hundreds of other examples in our Automation Template Library.
Share this article
Next Topic
Recommended reading
Bookmark these resources to learn about types of DevOps teams, or for ongoing updates about DevOps at Atlassian.

DevOps community

DevOps learning path