Guides and permissions in Jira tutorials
Manage permissions in Jira
Please note that these features will only be available to you if you are a Jira administrator.
- Navigate to the top right of the screen. Select the Cog and User Management from the dropdown. Here, you will be able to view a list of all users, grant access to various applications, and set permissions accordingly.
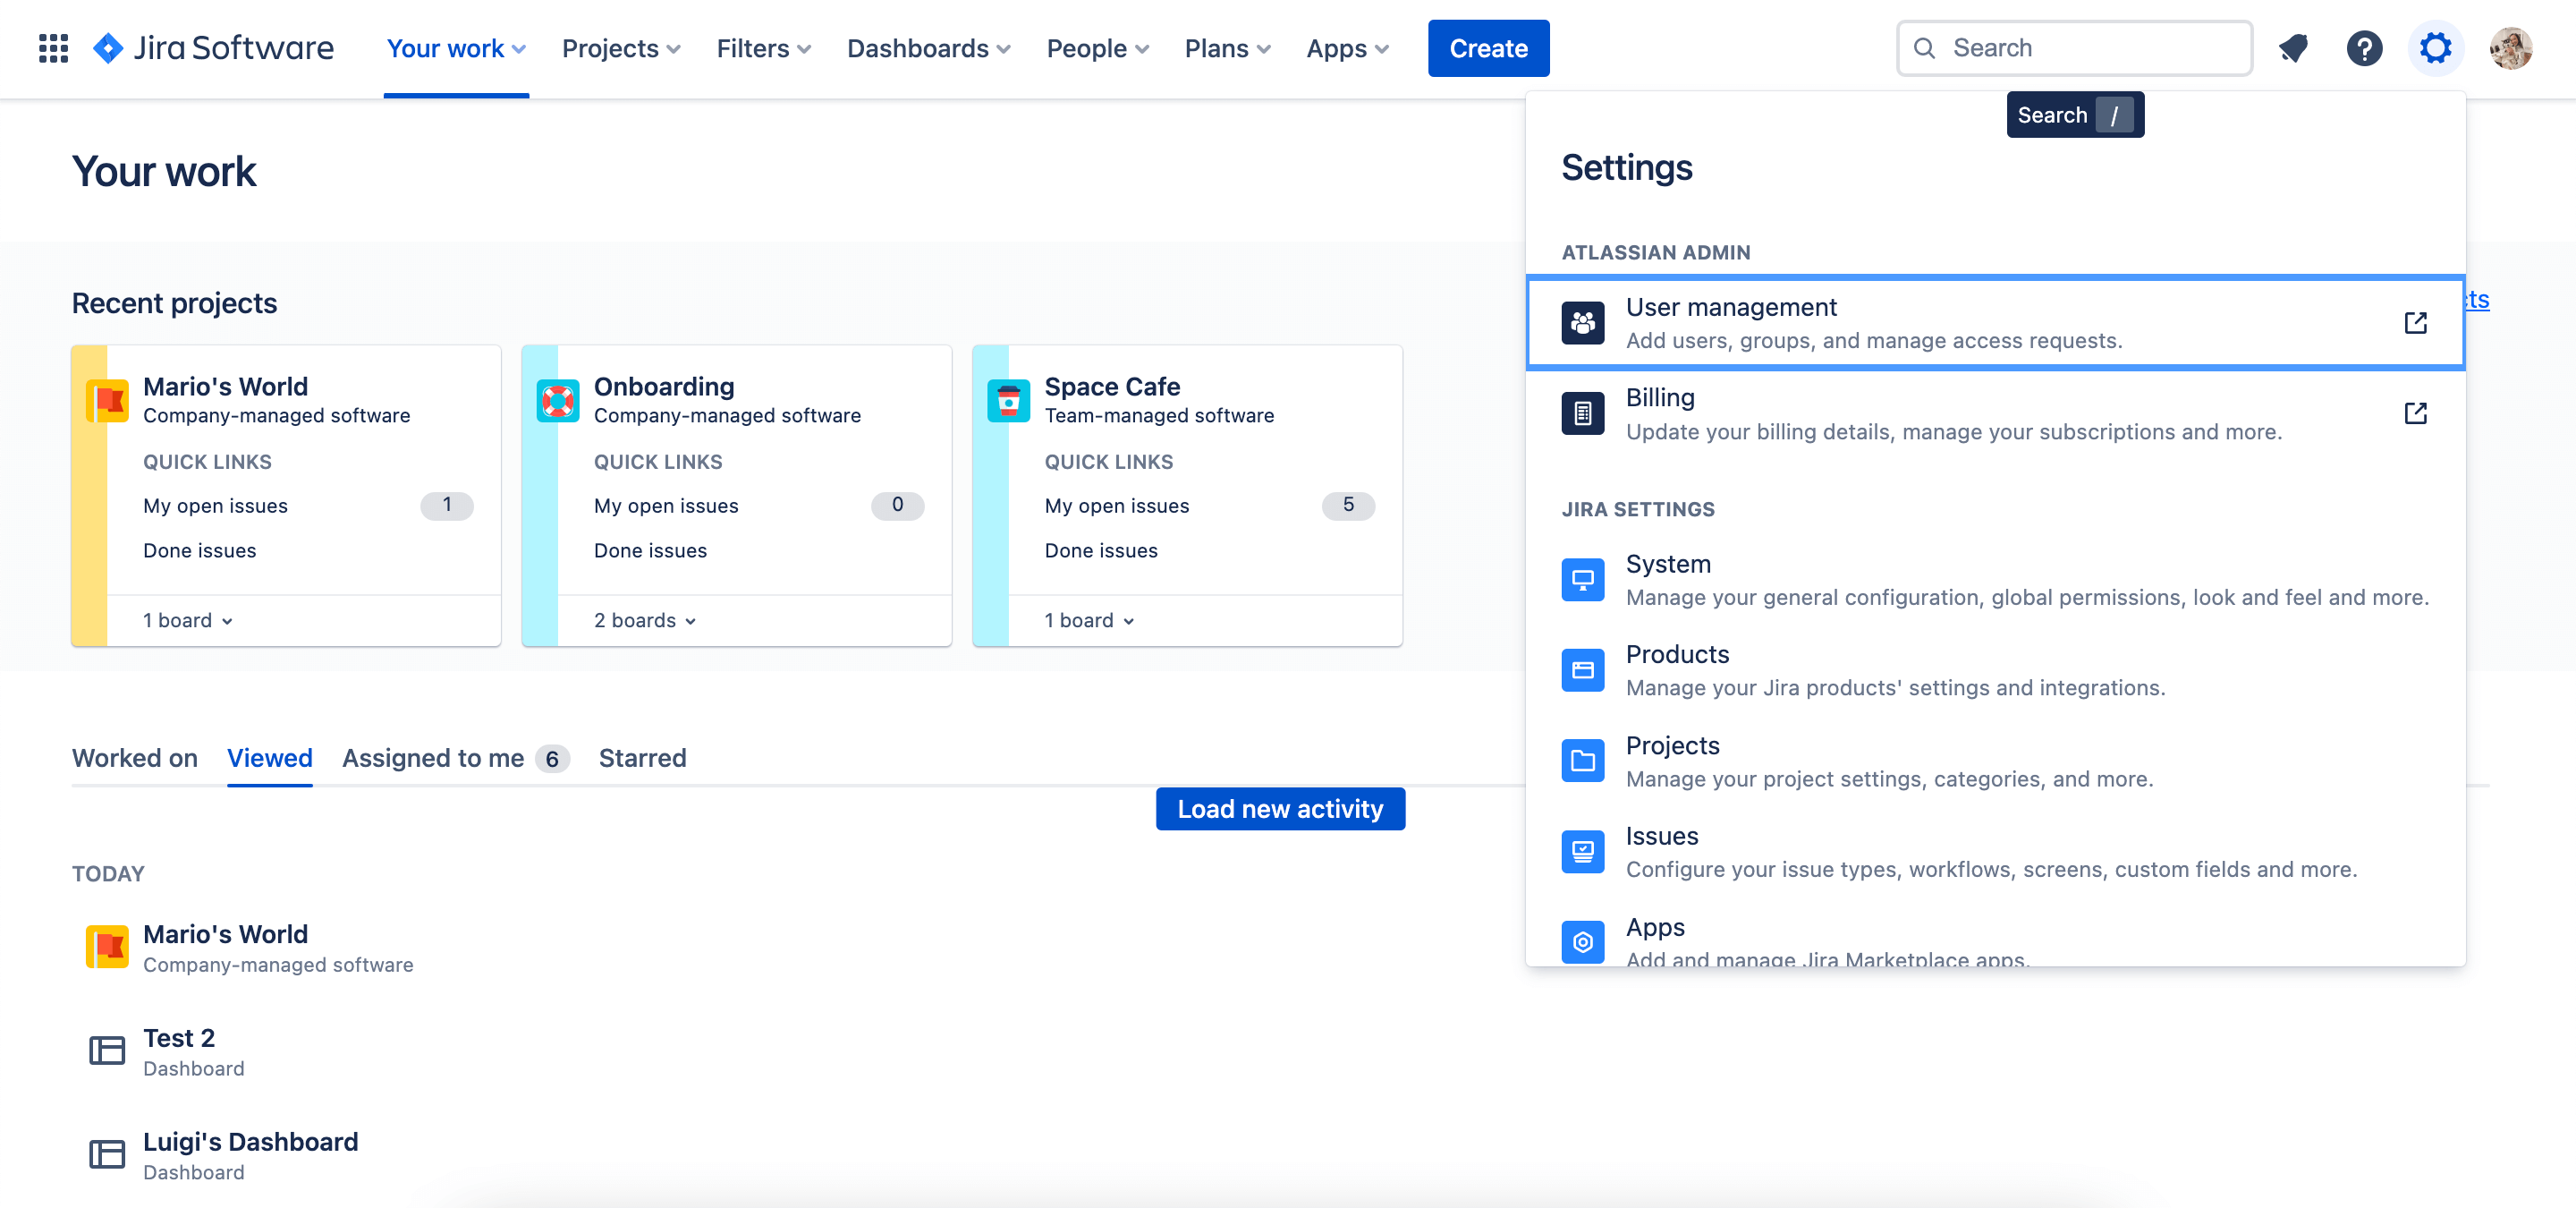
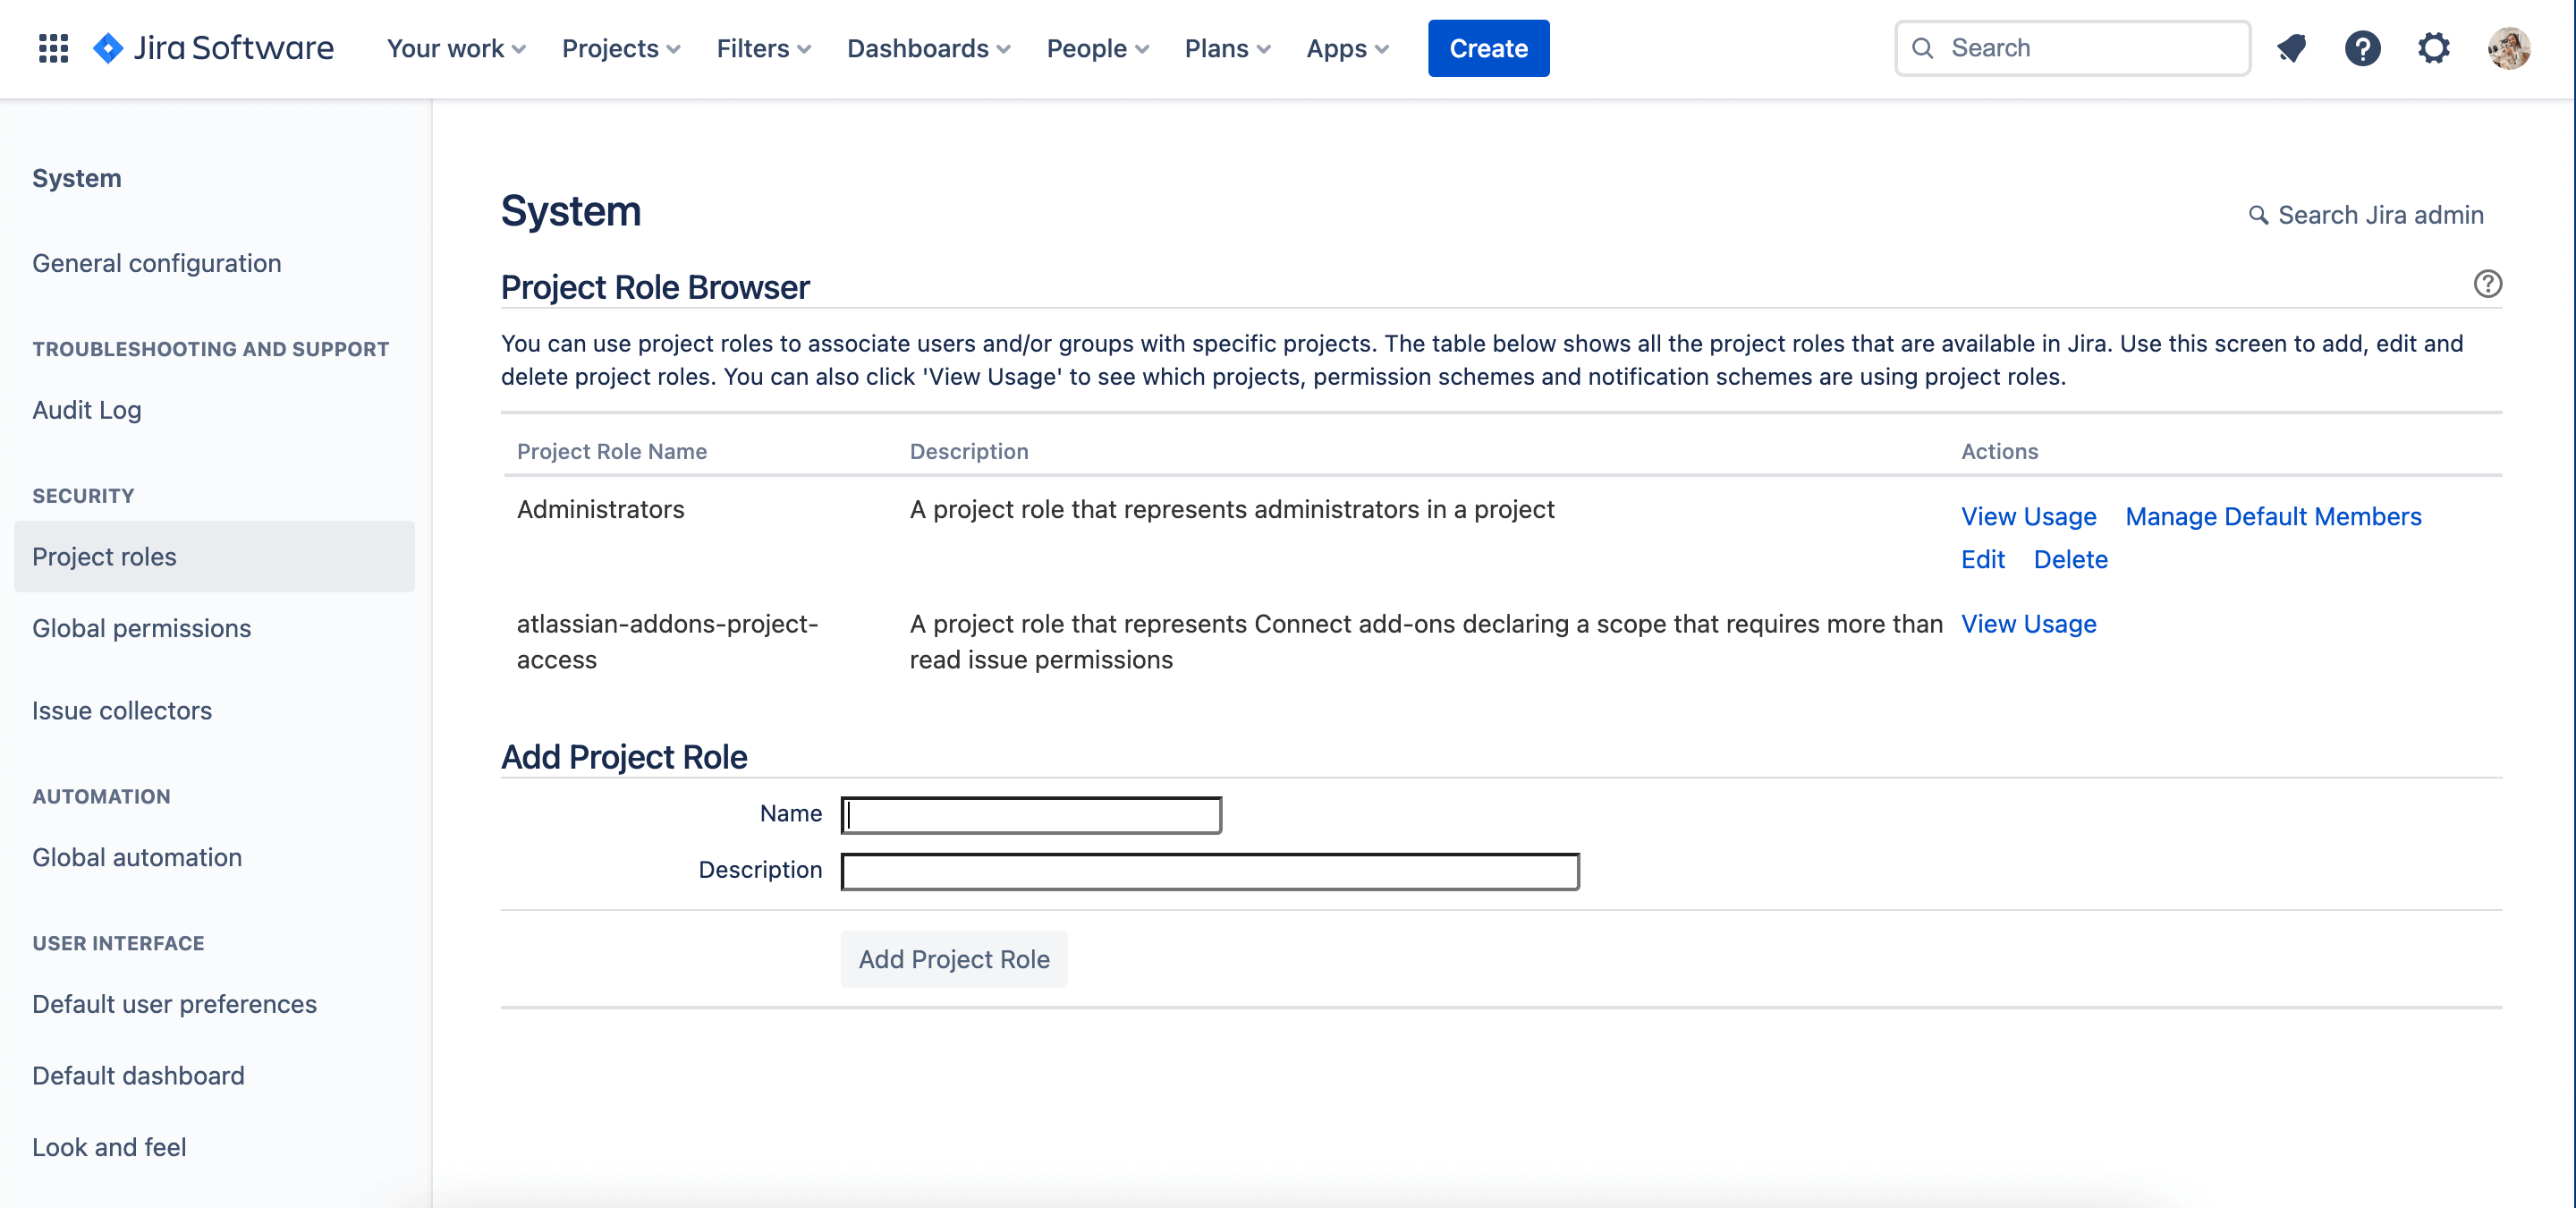
- Alternatively, you can select the Cog and System from the dropdown.
- Select Project roles or Global permissions from the sidebar navigation.
Create or edit permission schemes
Please note that these features will only be available to you if you are a Jira administrator.
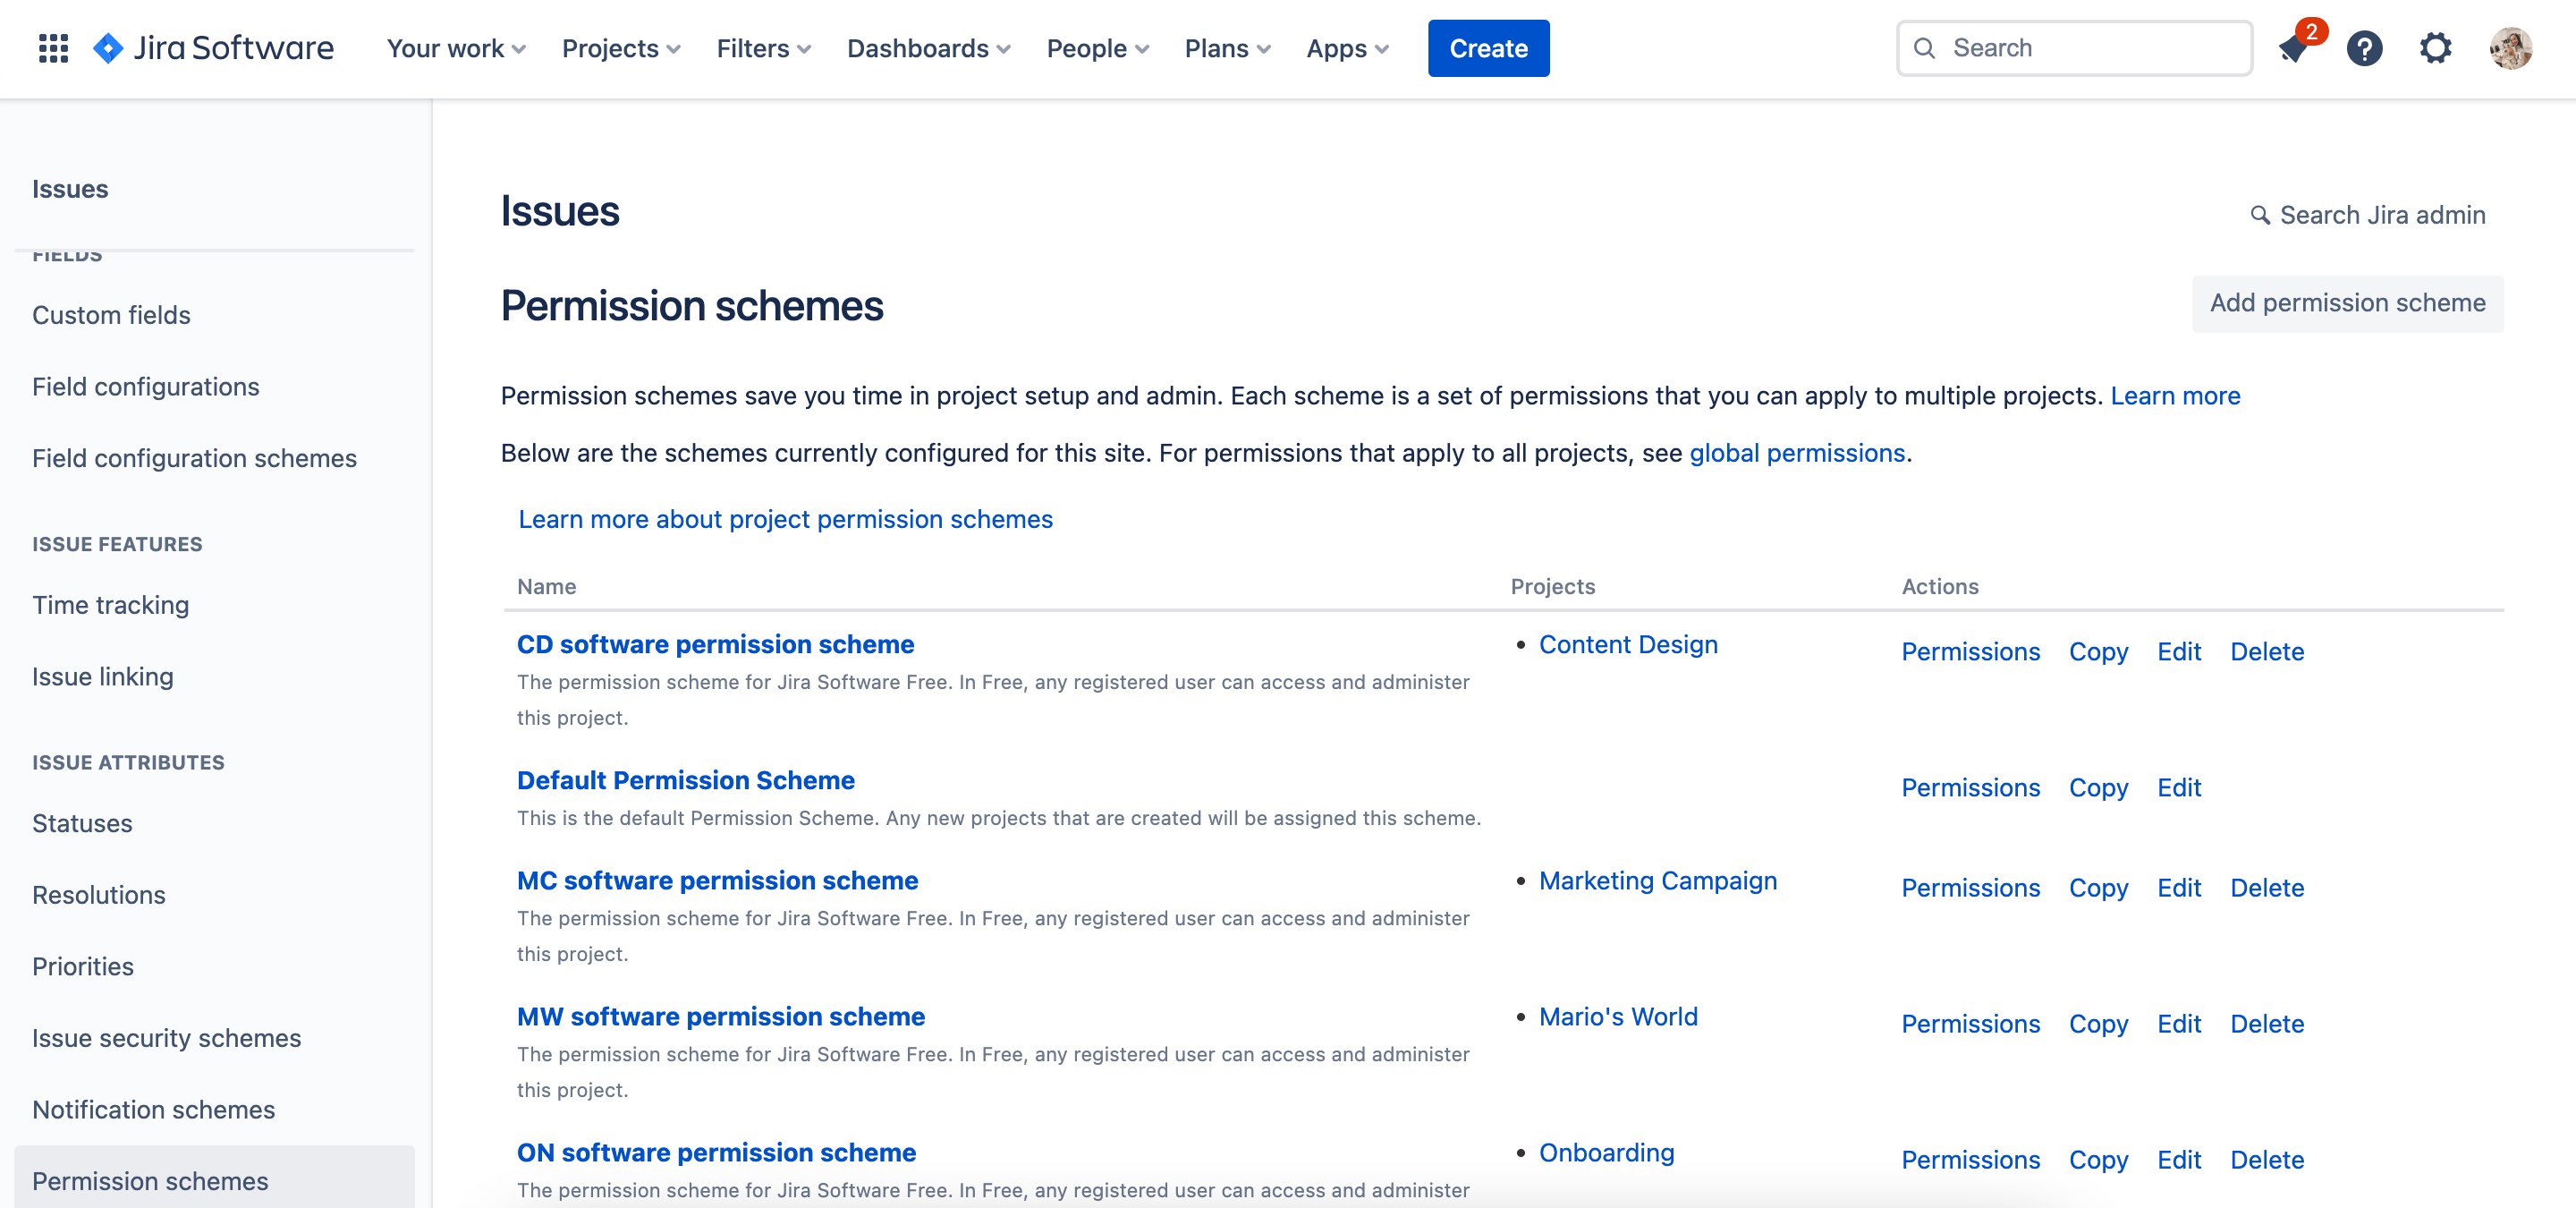
- Navigate to the top right of the screen. Select the Cog and Issues from the dropdown.
- Select Permission schemes from the sidebar navigation.
Access Permission Helper in Jira
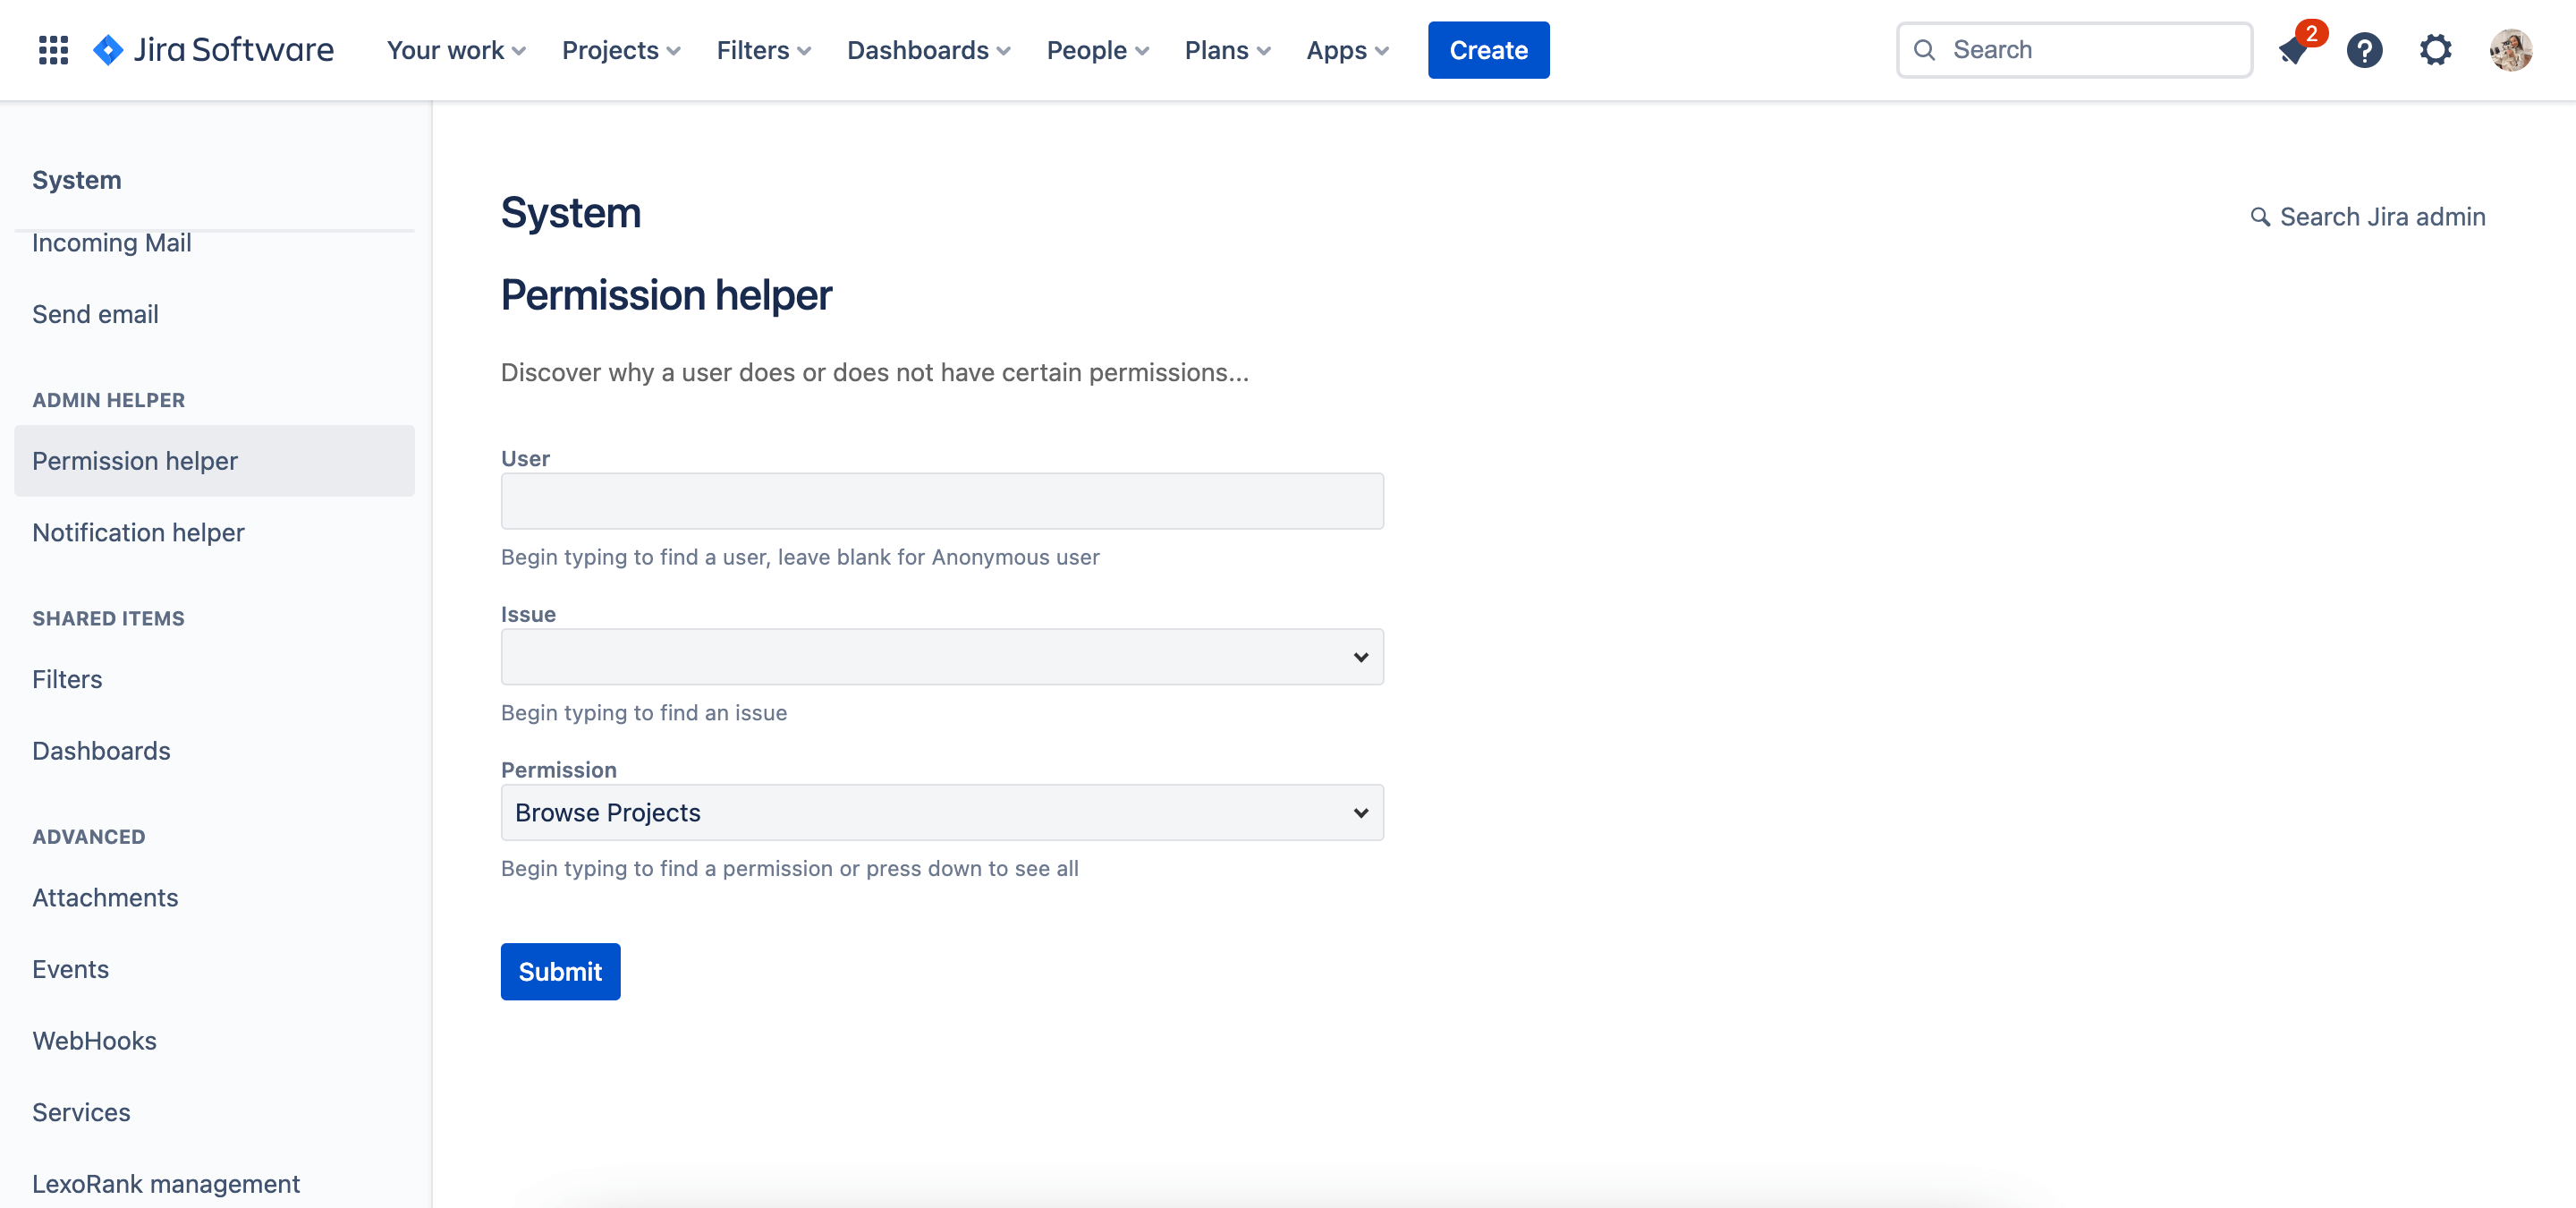
Leverage Jira’s Permission Helper to discover why a user does or does not have certain permissions.
In company-managed and team-managed projects:
- Navigate to the top right of the screen. Select the Cog and System from the dropdown.
- In the sidebar navigation, select Permission helper.
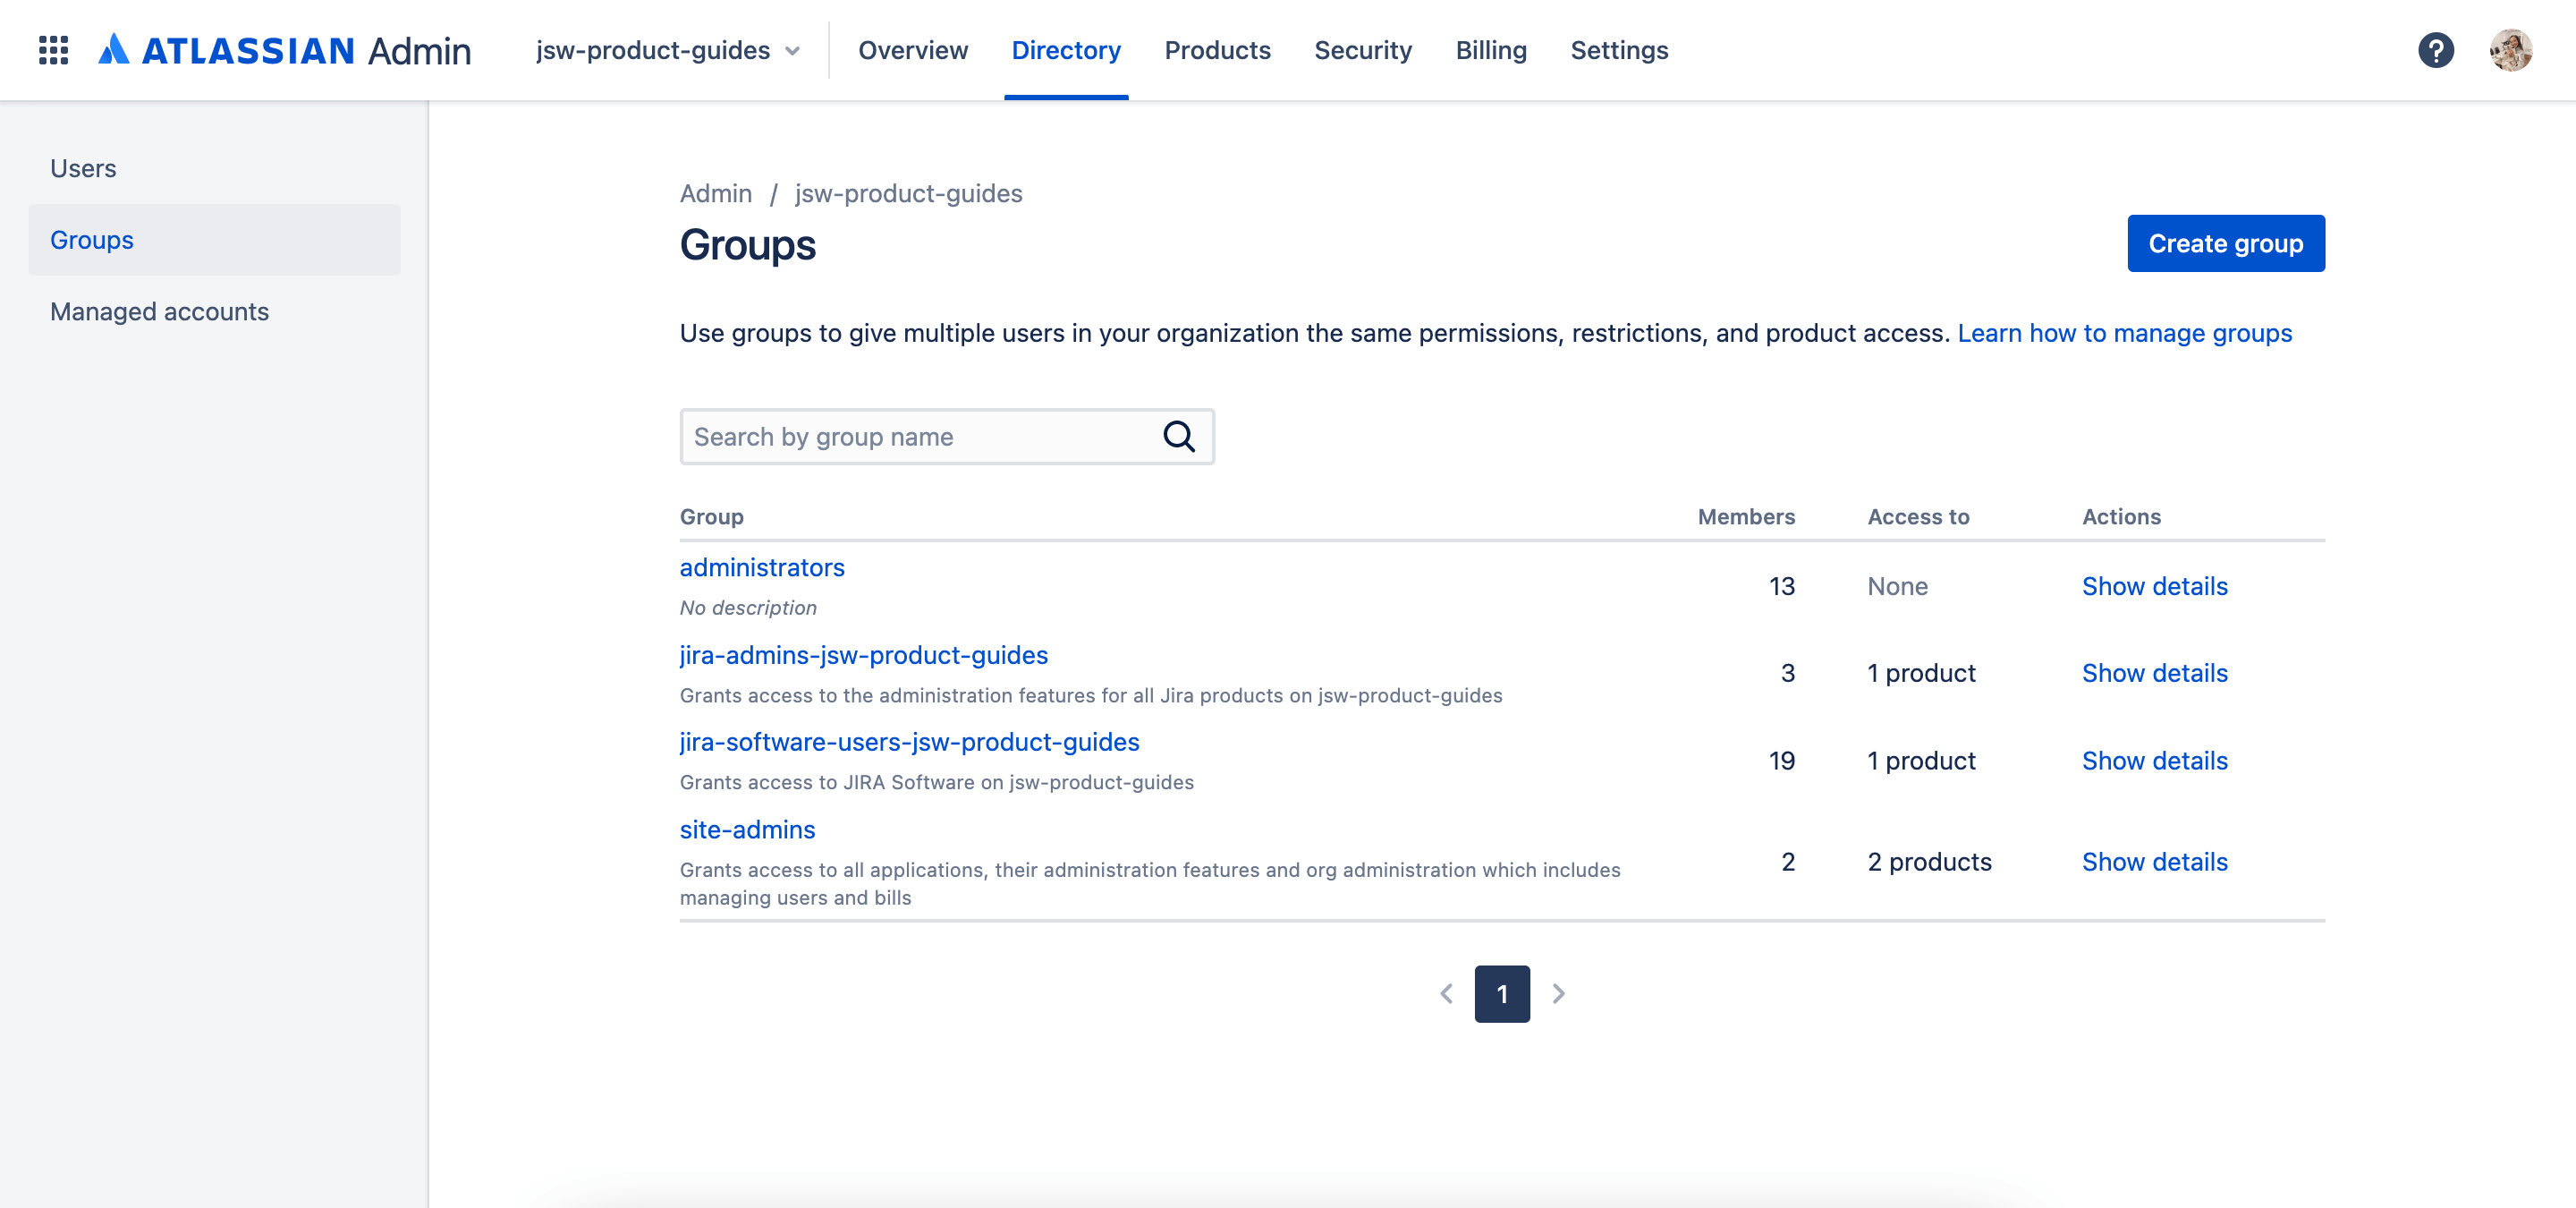
Create and update group
- Go to admin.atlassian.com. Select your organization if you have more than one.
- Select Directory > Groups.
- Select the Create group button to create a new group.
Assign or update a user’s project roles in Jira
You can see and edit a user's Jira project role. For example, quickly assign a user to newly-created roles in several different projects at one time.
- Log in to admin.atlassian.com
- From your organization, go to Directory > Users.
- Find the user whose role you want to modify, then select their avatar or Show details.
- Select the 3 dot icon next to a Jira product, then select View Jira project roles.
