Welcome to Jira
Everything you’ll need to know
Whether you've used it in a past life, or have never heard of it, we'll help you navigate choosing the right product, setting it up, and learning the best practices. So grab your team and let's go!
What is Jira?
Jira is an industry-leading project management tool that brings every team together to plan, track, and deliver any type of project with confidence. It is the single source of truth for your entire organization, empowering teams with the context to move quickly while staying connected to the greater business goal. Whether used to manage everyday tasks or scale complex projects, Jira is where teams and AI come together to drive better outcomes, faster. Sign up for a live demo of Jira. Sign up for a live demo of Jira.

Who uses Jira?
Jira launched in 2002 as a work tracking and project management tool for all teams. Since then, over 300,000 companies worldwide have adopted Jira. Its flexibility and AI-powered workflows support any project type, and its extensibility works with thousands of apps and integrations. Jira enables cross-functional teams to work together, including:
Dig into specific features
Jira supports any project management process or methodology your team might need, from agile planning to fully customizable views, including lists, timelines, and Kanban and Scrum boards. Jira gives you the AI-powered tools you need to unlock collaboration, stay aligned, and deliver your best work, together.

Boards
Manage your work with powerful Scrum and Kanban agile boards.
Timeline
Plan and track work in the timeline view to ensure your team stays in sync and ahead of dependencies.
Insights
Out-of-the-box reports in Jira ensure your teams are always up to date and ready.
Integrations
Extend the power of Jira with over 6000+ apps and integrations.

Scrum board
The scrum framework enables software teams to manage complex projects by creating a culture of collaboration. The Jira scrum board is the tool that unites teams around a single goal and promotes iterative, incremental delivery.
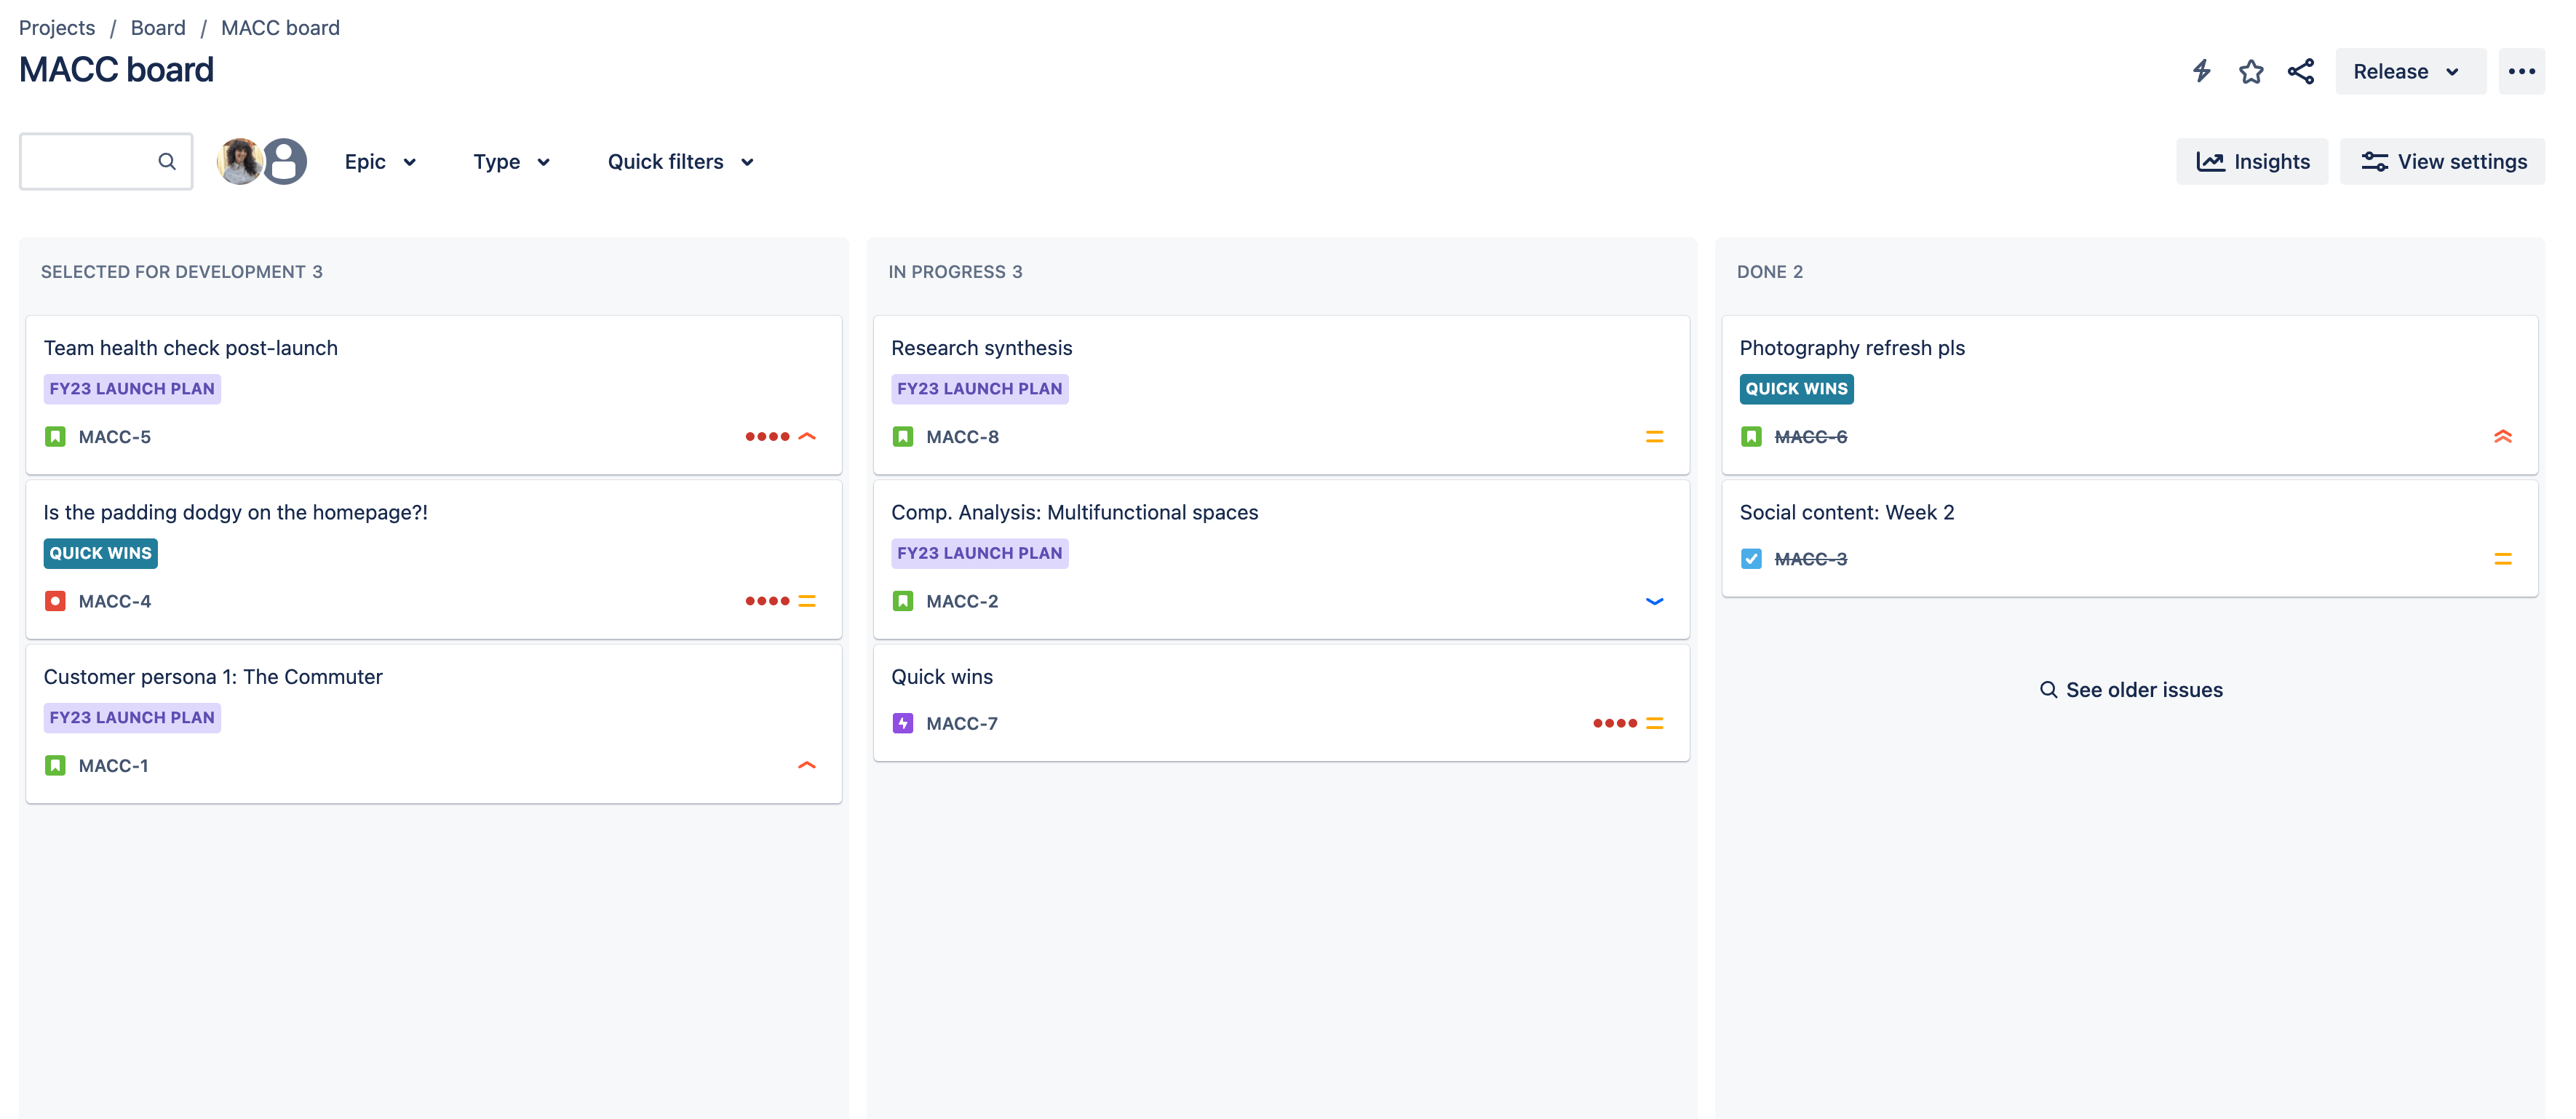
Kanban board
Kanban is a common framework for agile and DevOps software development that provides transparency of work and team capacity. Kanban boards in Jira help teams visualize their workflow, limit work-in-progress, and maximize efficiency.
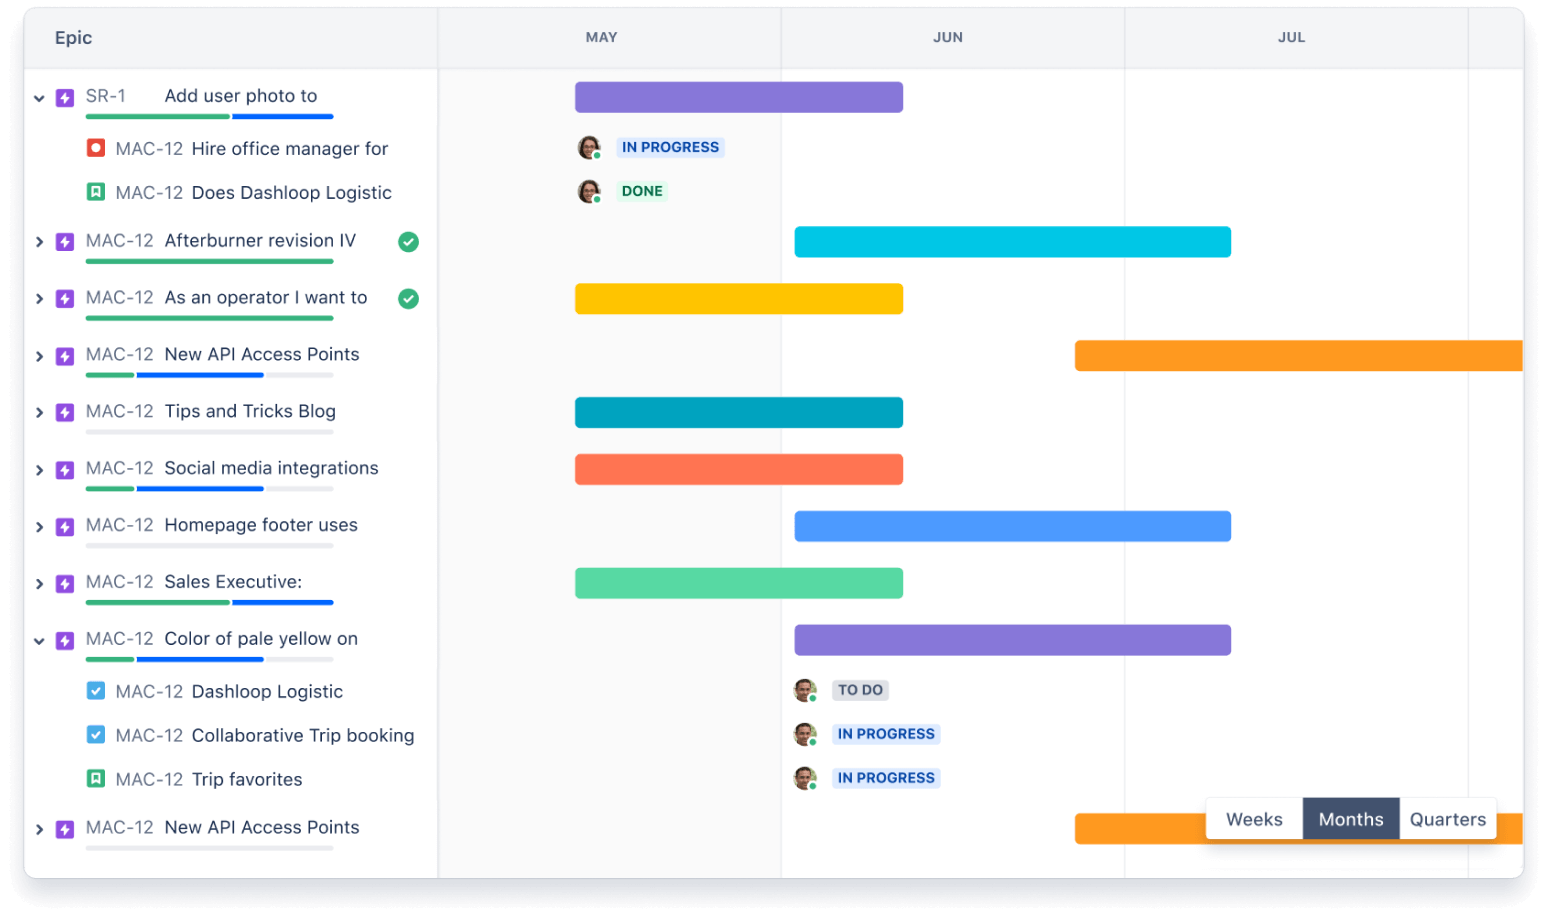
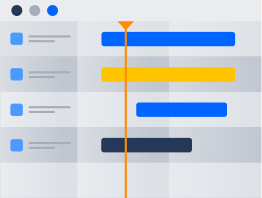
Timeline
The timeline view in Jira is useful for planning large pieces of work several months in advance within a single project. Simple planning and dependency management features help your teams visualize and manage work better together.
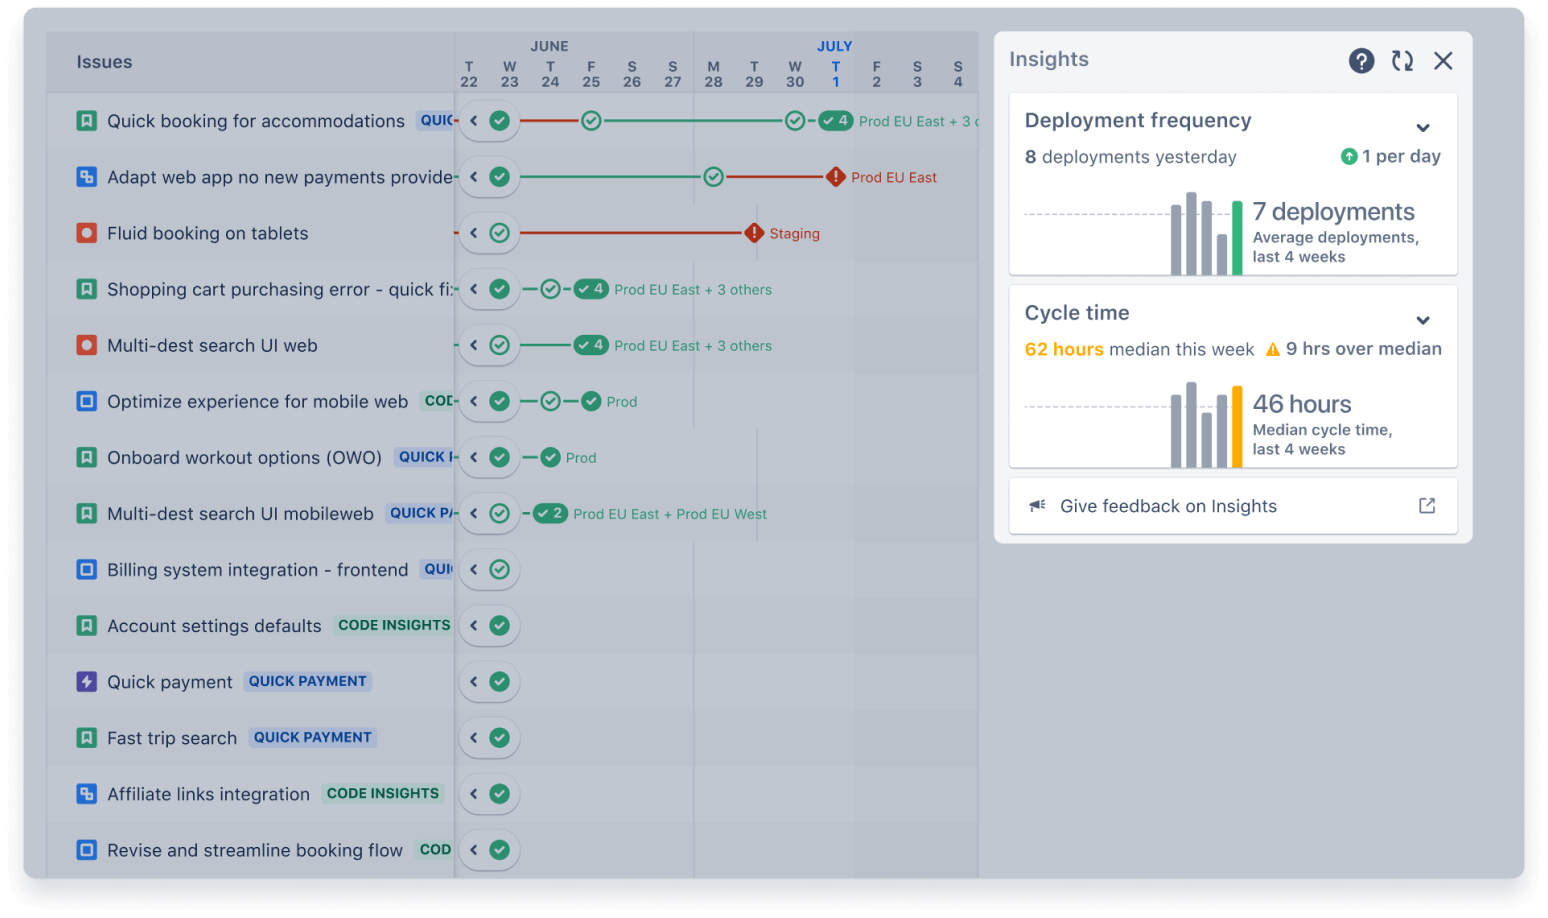
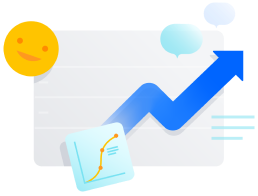
Insights
In Jira, insights helps the team make data-driven decisions without leaving their current context. Insights source data from your Jira boards and projects to present aggregated views of your team’s historical progress. Insights are currently available for scrum metrics in both company-managed and team-managed projects.
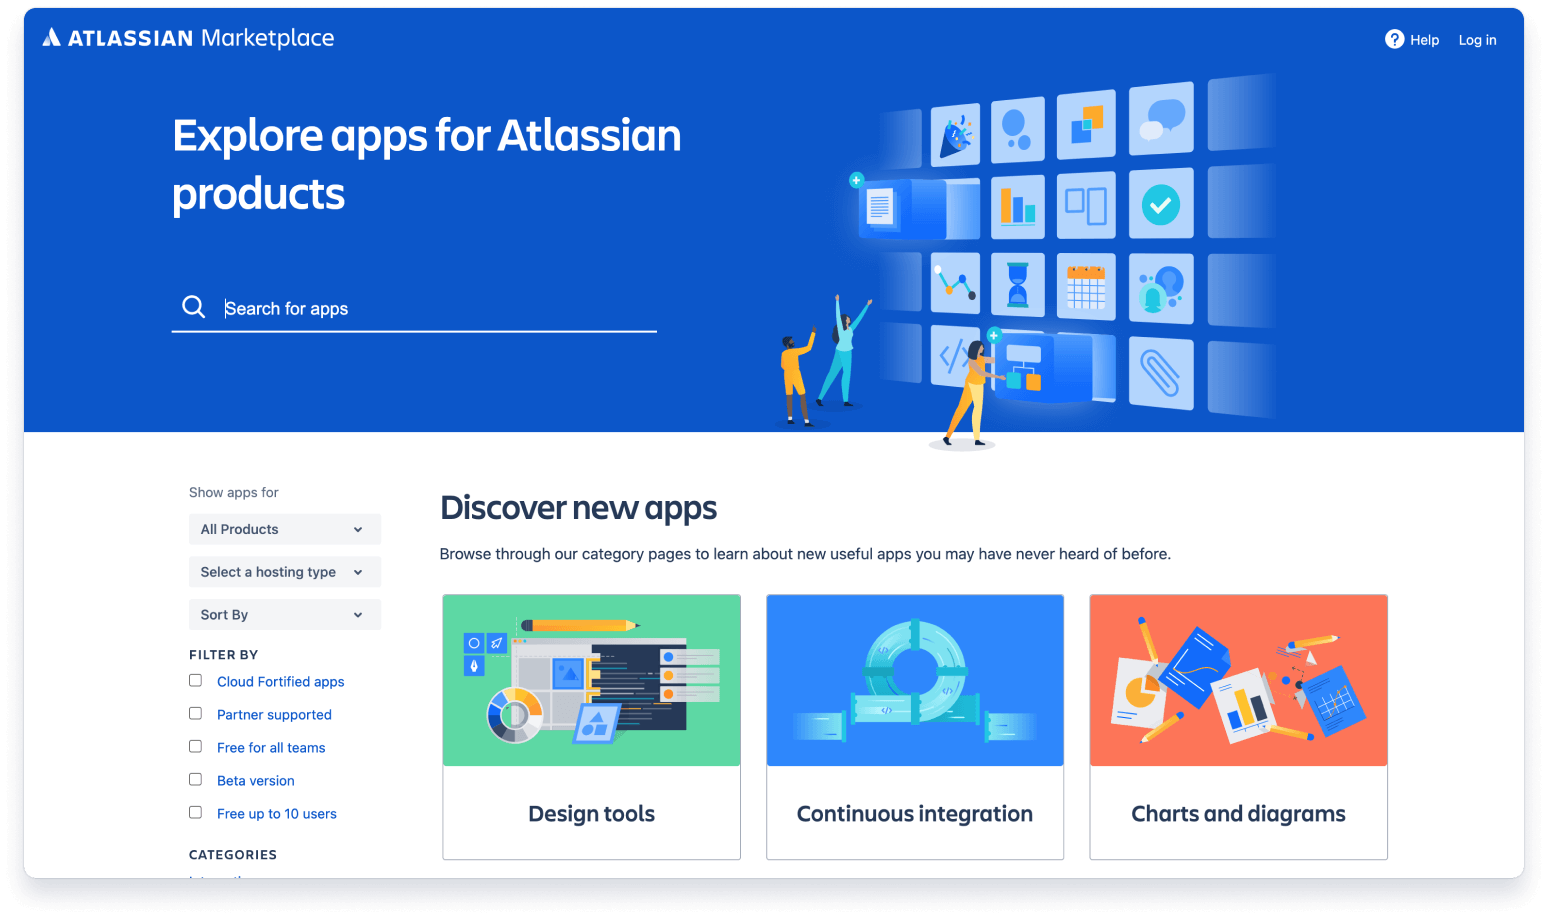
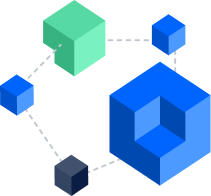
Integrations
In Jira, an app (sometimes called an add-on or plugin) is an installable component that supplements or enhances the functionality of your instance. You and your teams can spend less time managing work and more time building great software with over 3,000 Jira apps that can be custom-tailored to fit any and every use case.