Articles
Tutorials
Interactive Guides
Learn Continuous Integration with Bitbucket Pipelines

Sten Pittet
Contributing Writer
In this tutorial, we'll see how to set up a CI workflow in Bitbucket Pipelines with a simple Node.js example.
Time
30 minutes
Audience
You are new to continuous integration and/or Bitbucket Pipelines
Prerequisites
- Node v4.6 or above to run the sample application
- A terminal to execute bash commands
- Git to manage the repository and push back to Bitbucket Cloud.
- A Bitbucket account
Testing software can be an expensive part of the release cycle. Not only do you have to verify that new changes are working as expected, but you also need to make sure that existing features have not broken. This can quickly become a significant burden as the scope of testing increases with each new release. It's also a tedious task for your team as they'll have to manually check basic aspects of your application time and time again.
Test automation exists to solve this issue by eliminating the redundant and annoying aspect of testing. You write a test once, and it can be automatically executed by a testing framework, without the need for human intervention. Then you can go one step further and hook your repository on a continuous integration (CI) service like Bitbucket Pipelines to run your tests automatically on every change that gets pushed to the main repository.
In this tutorial, we'll see how to set up a CI workflow in Bitbucket Pipelines with a simple Node.js example. We'll start by building our app; then we'll look at how we can implement a simple test, and finally, we'll learn how to hook it up to Bitbucket Pipelines.
Step 1: Create a new empty Bitbucket repository
To begin this tutorial, create a new Bitbucket repository.
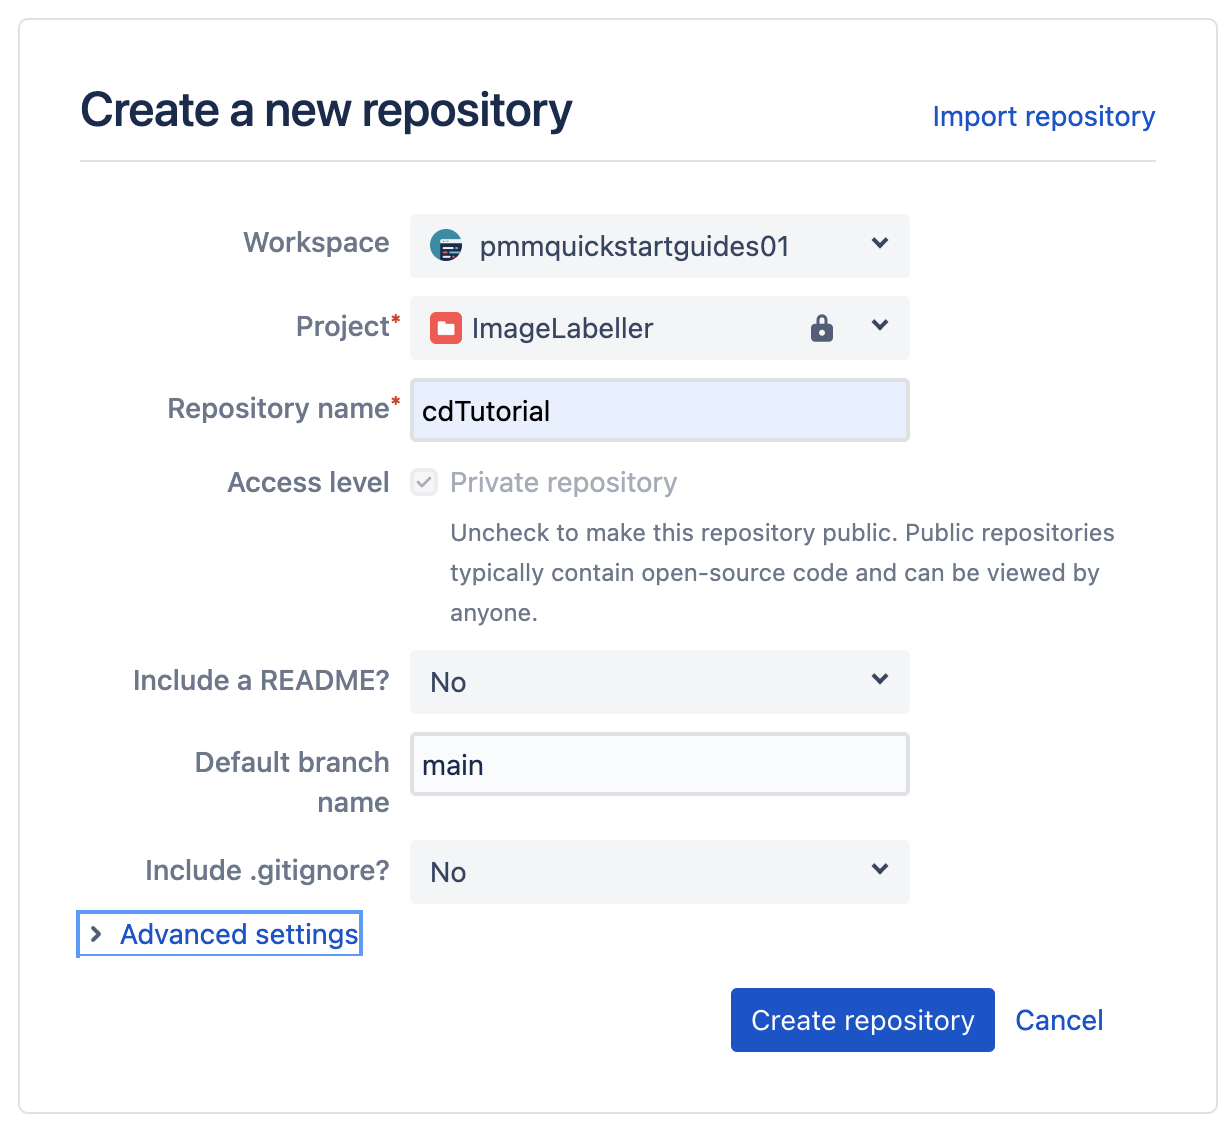
Clone this repository into using a command like:
git clone git@bitbucket.org:pmmquickstartguides01/cdtutorial.gitStep 2: Build a simple Hello World application
Start by creating a basic Node.js application that displays "Hello World!" in the browser.
Run npm init to initialize your new Node project. You can use all the default settings except for the entry point that you need to change to server.js from index.js.
npm init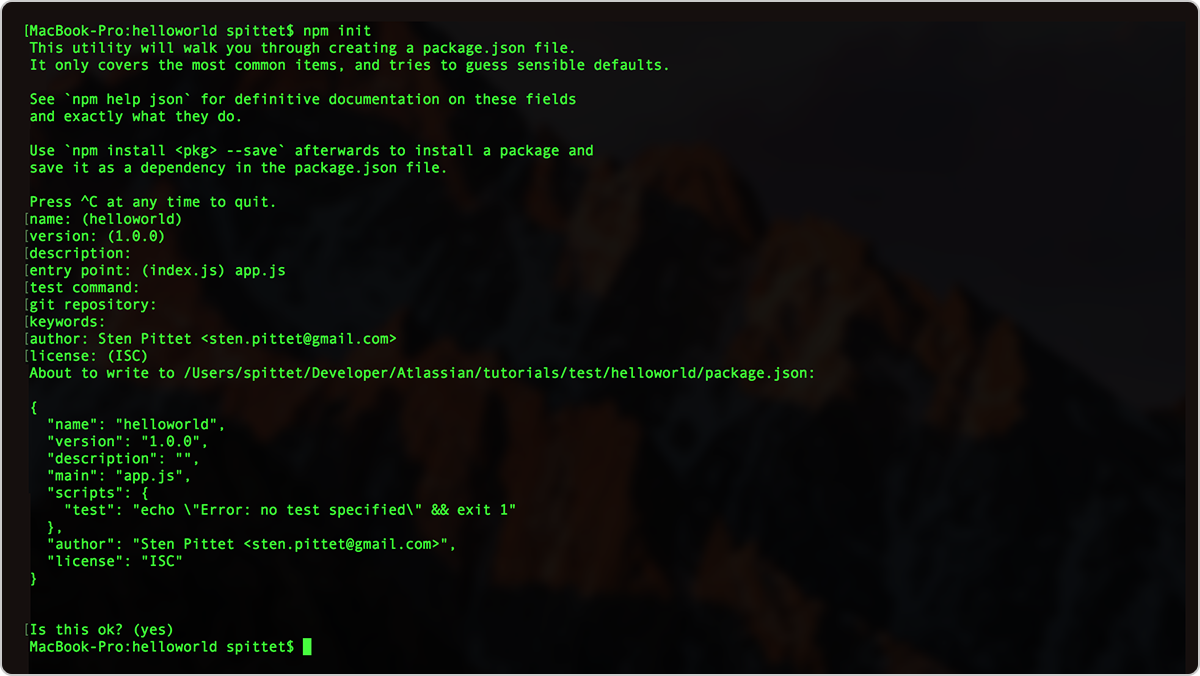
Your npm init settings
If you forgot to change the entry point to server.js don't worry as you can edit it after in your package.json file. When you're done your helloworld directory should have a single file called package.json, and it should look like this:
package.json
{
  "name": "cdtutorial",
  "version": "1.0.0",
  "description": "",
  "main": "server.js",
  "scripts": {
    "test": "echo \"Error: no test specified\" && exit 1"
  },
  "repository": {
    "type": "git",
    "url": "git+ssh://git@bitbucket.org/pmmquickstartguides01/cdtutorial.git"
  },
  "author": "",
  "license": "ISC",
  "bugs": {
    "url": "https://bitbucket.org/pmmquickstartguides01/cdtutorial/issues"
  },
  "homepage": "https://bitbucket.org/pmmquickstartguides01/cdtutorial#readme"
}
Now we will install Express which is a web framework for Node. We'll save it as a dependency with the --save parameter. It's important to save it explicitly as a dependency because it will allow later Bitbucket Pipelines to know what dependencies needs to be installed to test your application.
npm install express --saveCreate a file called server.js and copy and paste the code below to create your Hello World application.
var express = require("express");
var app = express();

// The code below will display 'Hello World!' to the browser when you go to http://localhost:3000
app.get("/", function (req, res) {
  res.send("Hello World!");
});
app.listen(3000, function () {
  console.log("Example app listening on port 3000!");
});
module.exports = app;
At this stage your application folder should look like the following.
wmarusiak@C02F207NML7L cdtutorial % ls
node_modules package-lock.json package.json server.js
You can now simply start your Node app and go to http://localhost:3000 to see it in action.
npm start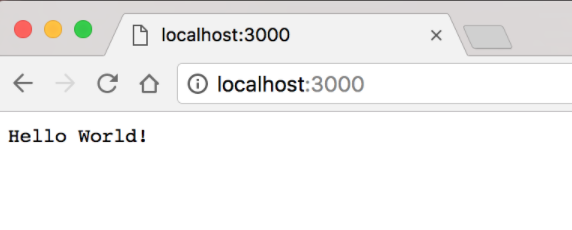
Our example in action
Step 3: Write a test for our application
Now that we have our application up and running we can start writing a test for it. In this case, we will make sure that it always displays "Hello World!" properly when the user calls the base URL. This is a very basic example, but following the same structure you will be able to add unit tests for your own application, but also do more complex things such as checking authentication, creating and deleting content, and testing permissions.
To do that we'll use a test framework called Mocha and a library called supertest which will help manage HTTP requests in our tests. When comes the time for you to add test automation to your application, take some time to research the right testing framework for you. Depending on the language, the options may vary. Some frameworks are quite established like PHPUnit for PHP but in other cases, you might have to explore a bit to understand which test framework will be the best fit for your project. You can find an exhaustive list of unit testing frameworks on Wikipedia but we recommend approaching the developer community of your language to get some recommendations.
Run the command below in your terminal to install both Mocha and supertest as development dependencies for your application.
npm install mocha --save-dev && npm install supertest --save-devIn your package.json file replace the test script command to invoke mocha instead.
{
"name": "cdtutorial",
"version": "1.0.0",
"description": "",
"main": "server.js",
"scripts": {
"test": "mocha --exit"
},
"repository": {
"type": "git",
"url": "git+ssh://git@bitbucket.org/pmmquickstartguides01/cdtutorial.git"
},
"author": "",
"license": "ISC",
"bugs": {
"url": "https://bitbucket.org/pmmquickstartguides01/cdtutorial/issues"
},
"homepage": "https://bitbucket.org/pmmquickstartguides01/cdtutorial#readme",
"dependencies": {
"express": "^4.17.3"
},
"devDependencies": {
"mocha": "^9.2.2",
"supertest": "^6.2.2"
}
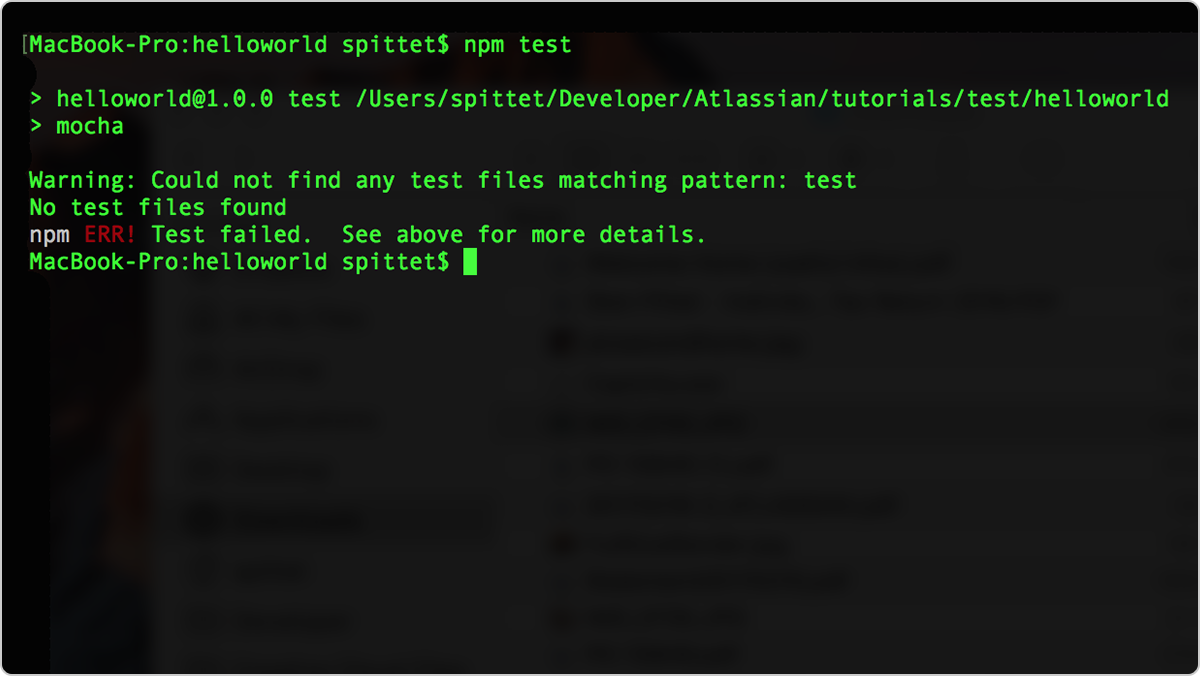
}If you run the command npm test in your terminal you should get an error that says that no tests could be found. This is expected and we'll see next how to add a basic test.
We're now ready and you can create a test folder in which you're going to add a test file.
mkdir test
touch test/test.js
Our test will be very simple: it'll only check the presence of the phrase "Hello World!" when the base URL is called.
test.js
var request = require("supertest");
var app = require("../server.js");

describe("GET /", function () {
  it('displays "Hello World!"', function (done) {
    // The line below is the core test of our app.
    request(app).get("/").expect("Hello World!", done);
  });
});
If you run npm test again in your terminal you should now see that one test is passing.
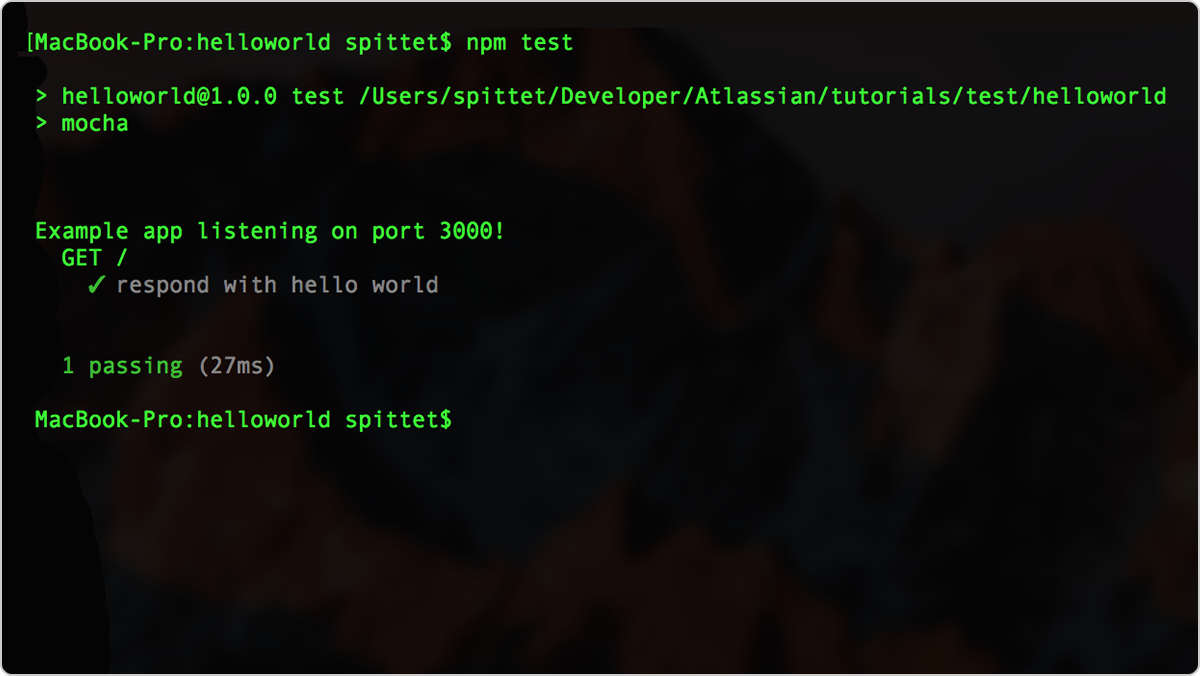
Congratulations! You now have implemented an automated test for your app. This is just a stepping stone for you to embrace CI and as you build your own application you should look into the different kind of tests that you can implement to check the integrity of your system. Just remember that the more complicated the tests are, the more expensive they will be to run.
In this tutorial, we implemented a feature and then wrote a test for it. It can be interesting to do the opposite and start by writing the tests that should verify your feature. Then you can implement the feature knowing that you already have safeguards to make sure that it's working as expected.
Step 4: Implement your continuous integration workflow with Bitbucket Pipelines
Your test is now scripted and you can run it via the command line. But to start practicing CI you have to make sure that your test suite is run for every new commit. That way developers are alerted as soon as their changes break the application and they can fix the underlying issue right away before moving to their next task. The other advantage of running your tests on every commit is that it can help your team assess the quality of the development – you will be able to visually see how many times new changes break your application, and how quickly things get back to a healthy state.
This may seem daunting but thankfully, automating your tests can easily be done with with Bitbucket Pipelines.
Start by adding your repository to Bitbucket.
git add --all
git commit -m "first commit"
git branch -m main
git push -u origin main
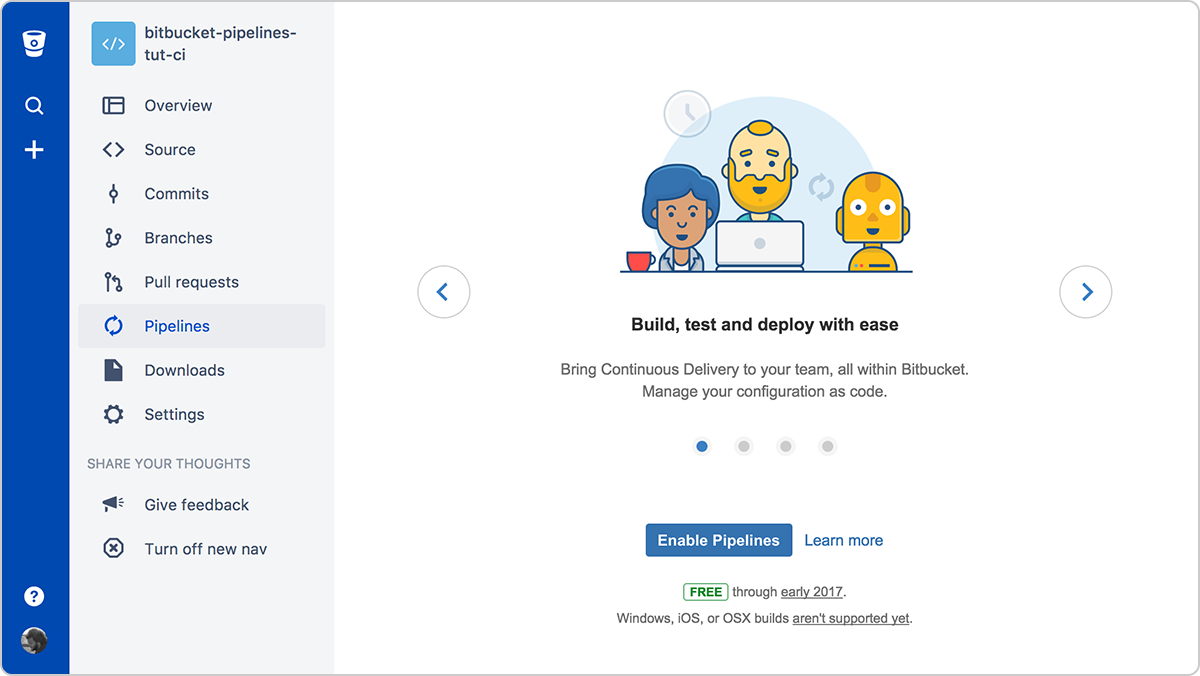
Go to Pipelines by clicking on the corresponding menu item in the sidebar.
After enabling Pipelines, pick the Node.js template in the configuration example. This example should have the command npm install and npm test in the script section and Bitbucket Pipelines will run them just like you would have in your own terminal to install dependencies and run the tests.
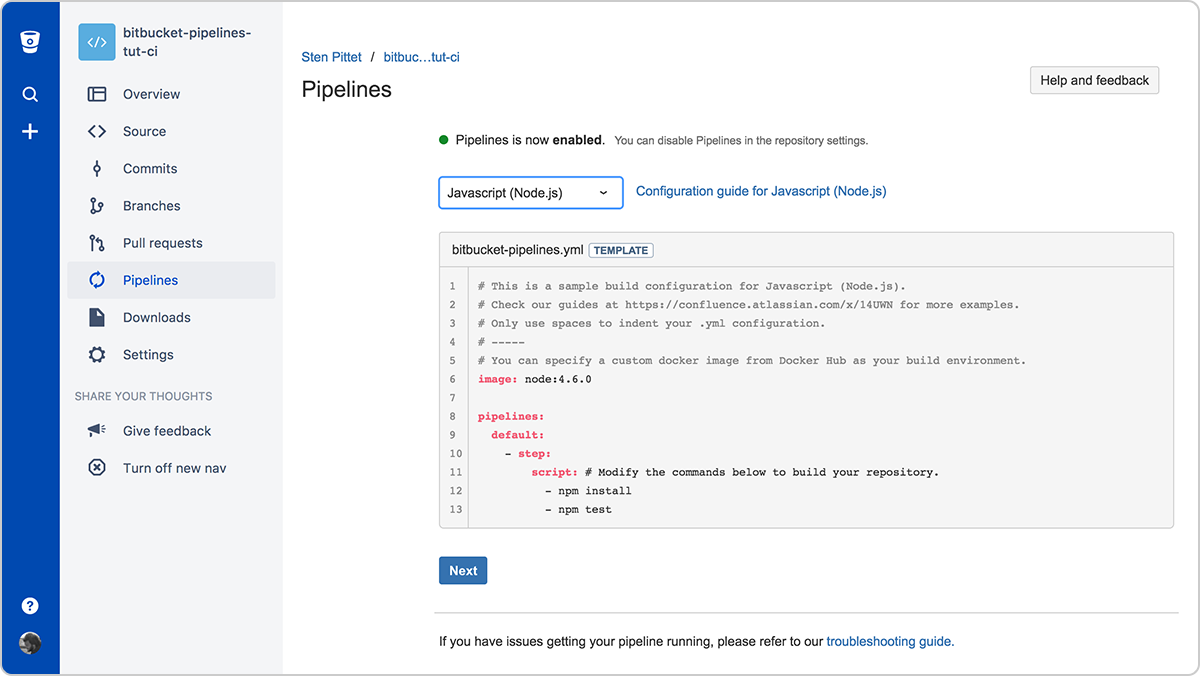
Update the bitbucket-pipelines.yml looks like the following:
image: node:16

pipelines:
  default:
    - parallel:
        - step:
            name: Build and Test
            caches:
              - node
            script:
              - npm install
              - npm test
You can commit it straight to your repository.
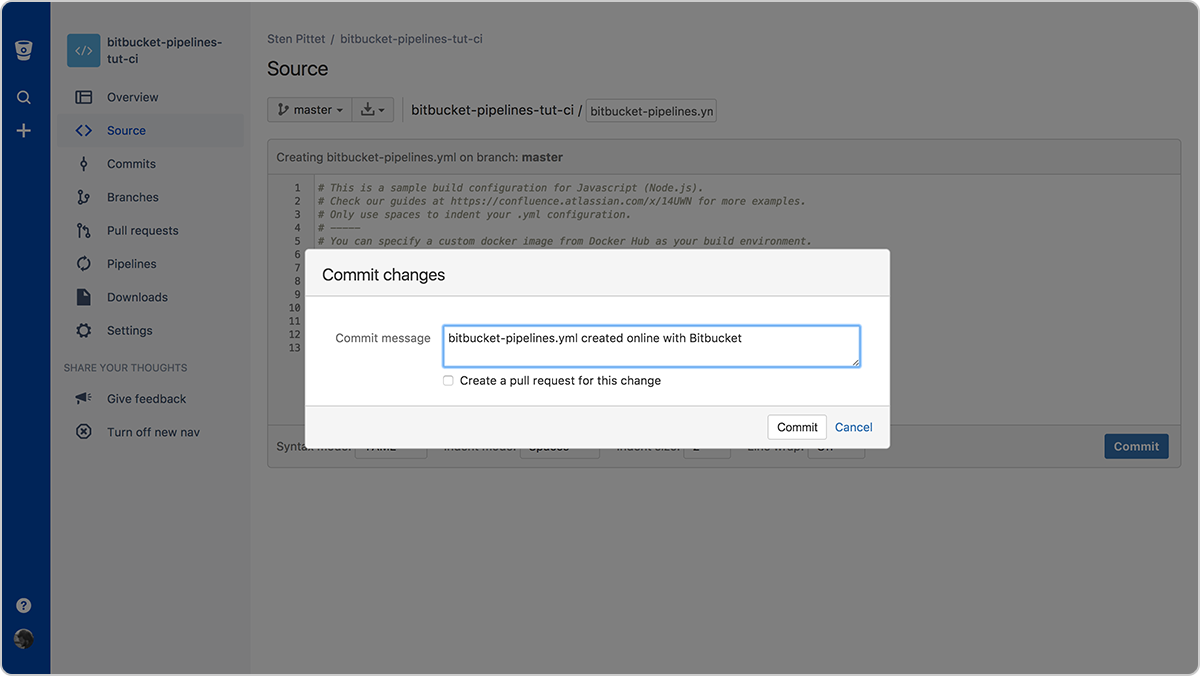
After committing your file you will be taken to the Pipelines section where you can see your first pipeline running.
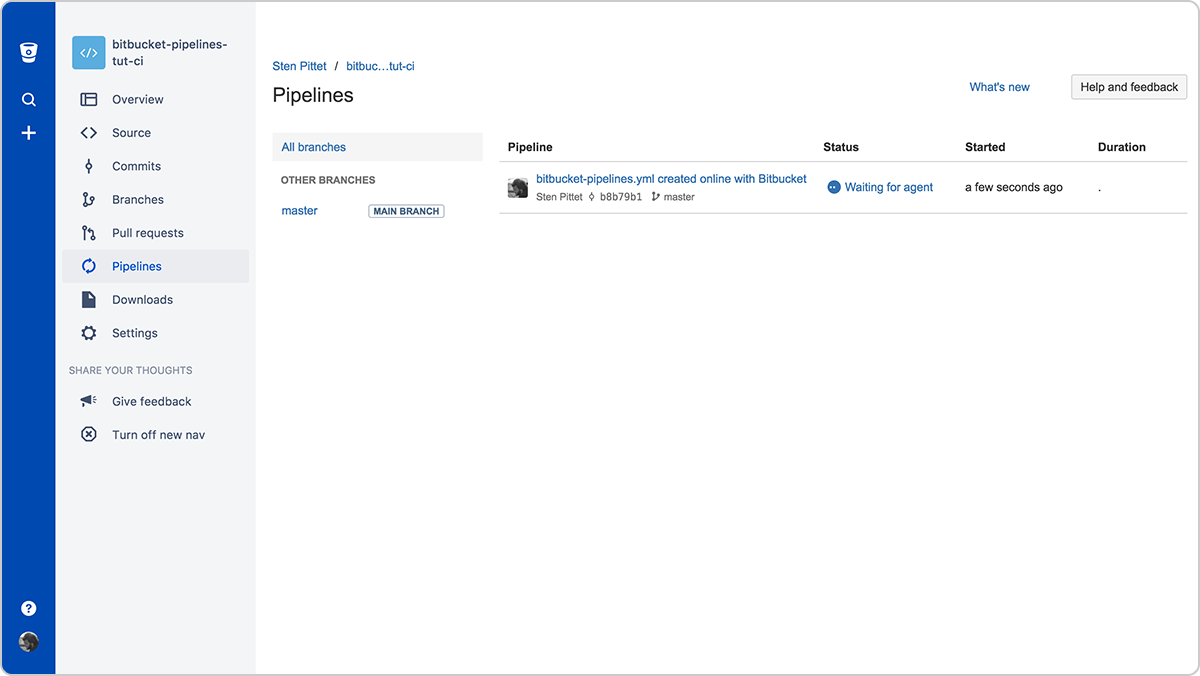
You can click on the pipeline to see the detail of the run and keep track of it until it finishes successfully.
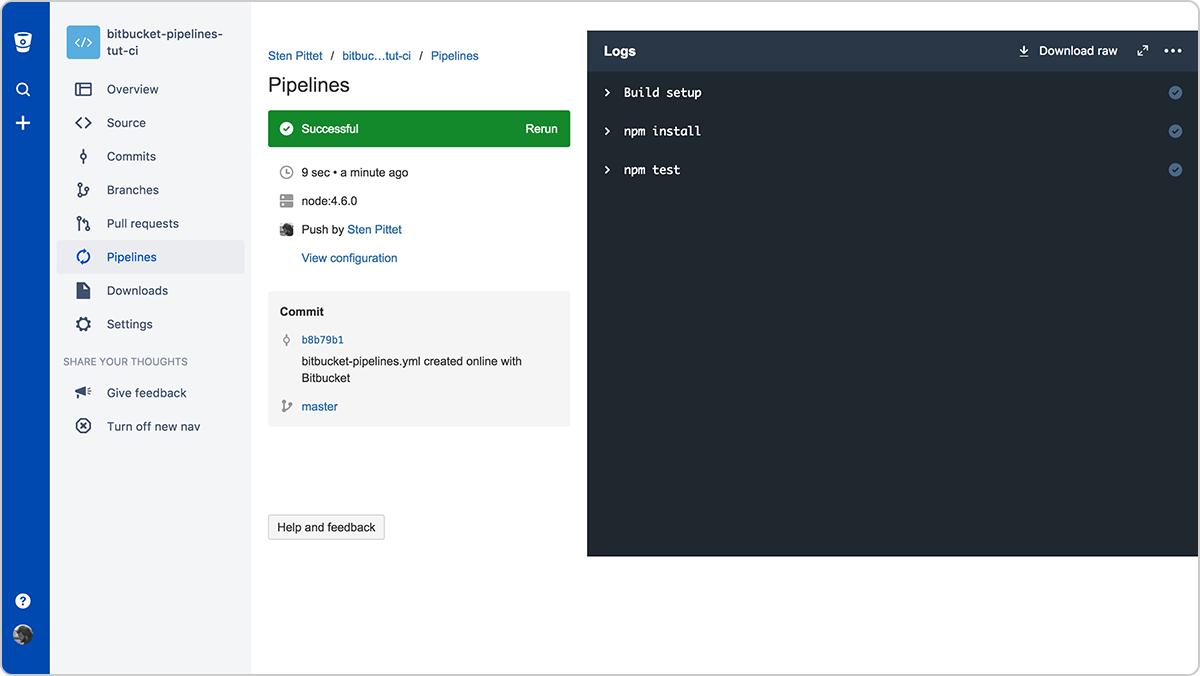
That's it! Your Bitbucket repository has a CI workflow set up and your tests will be run on every commit. You can try this by introducing changes in the code and monitor the Pipelines section. If your changes are good things will be green, but if you break the application or change the phrase that is displayed on the homepage you should see a failing pipeline and you'll receive an alert in your emails.
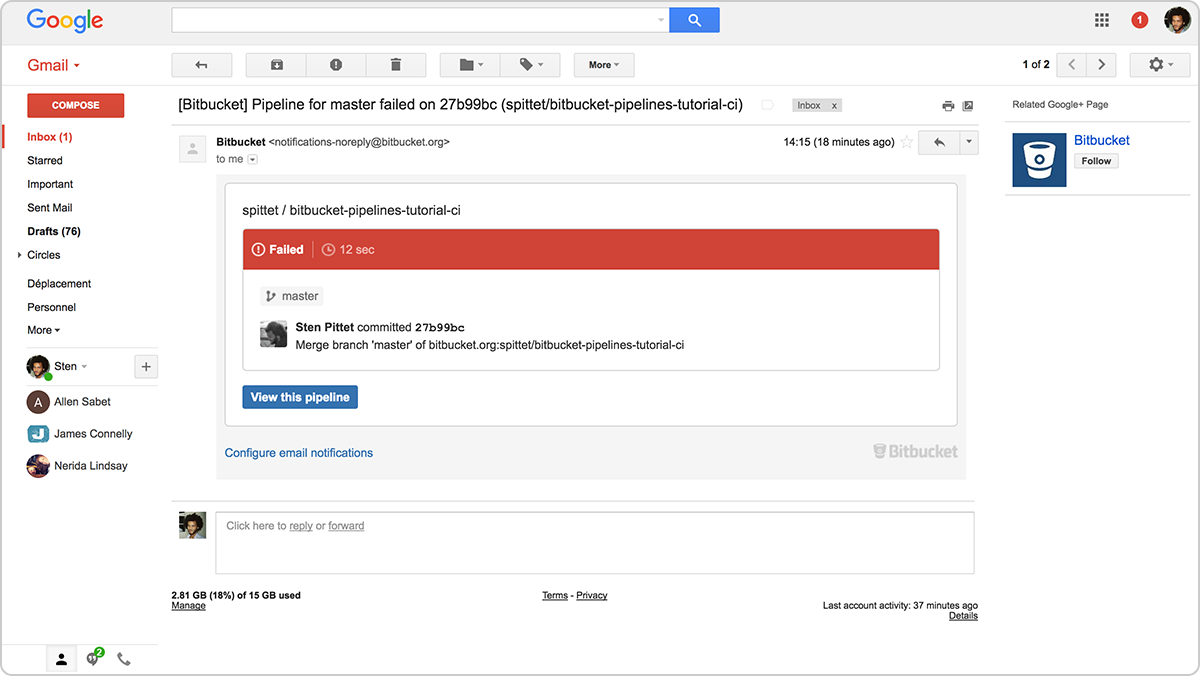
An email alert after introducing a breaking change
What's next
Obviously, this example is far from the application that you're currently building. However, it should give you a basic understanding of test automation and how to get a continuous integration workflow set up:
- Find the right testing framework
- Implement your tests
- Enable Bitbucket Pipelines
To truly get value out of CI you'll need to keep on adding new tests for each new feature, improvement or bug fix that you ship. If the scope of your test suite is too small you will end up having a false sense of confidence that your application is working. Adopting continuous integration is a cultural change and it requires your entire team to embrace to fully work. You can learn more by reading our CI guide.
Share this article
Next Topic
Recommended reading
Bookmark these resources to learn about types of DevOps teams, or for ongoing updates about DevOps at Atlassian.
DevOps community
DevOps learning path