Getting started with Open DevOps
This guide will help you sign up for Atlassian Open DevOps and set up your first connected project. Keep this tab open while you sign up and explore the products.
If you’re new to Atlassian
Sign up to create an account and get all the Open DevOps products for free. You can upgrade the products individually or swap them out for third-party tools of your choice.
If you have an Atlassian account
Sign up to add and integrate the products you don’t already have with a new or existing site. Don’t worry, this will not affect your bill!

If you sign up with an existing site, you’ll need to connect the products with a project.
Create a new “connected” project
- Select Create > Create project
- Check the “Connect work across tools” option
- Follow the prompts to connect work
You’ll be able to connect Atlassian and third-party tools connected to the project. Learn more.
Connect an existing project
- Choose the team-managed project you want to connect.
- Go to Project settings > Features
- Enable the Code, Deployments, Project pages, and On-call features.
- Choose the company-managed project you want to connect.
- Under Project settings, go to the indiviudal Code, Deployments, and Project pages tabs to enable the features one-by-one.
On-call is coming to company-managed projects soon!
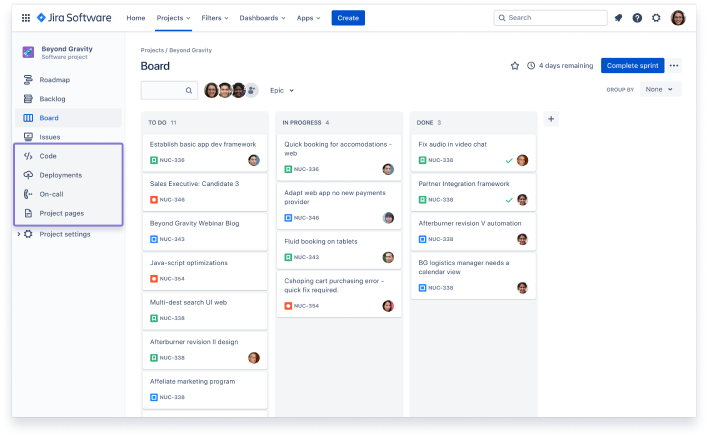
Step 3: Navigate your tools
Once the project is set up, you’ll have visibility into work that happens across all your connected tools directly from Jira Software. This means your team can access everything in one place instead of constantly switching between tools.
Take your time exploring the following items in your project menu:

Code to access your Bitbucket repositoried

Deployments to track your Bitbucket pipelines (CI/CD)

Project pages to read your Confluence documents

On-call to view your Opsgenie on-call schedule (coming to company-managed projects soon!)
Go to Project settings > Features to easily toggle features on and off.
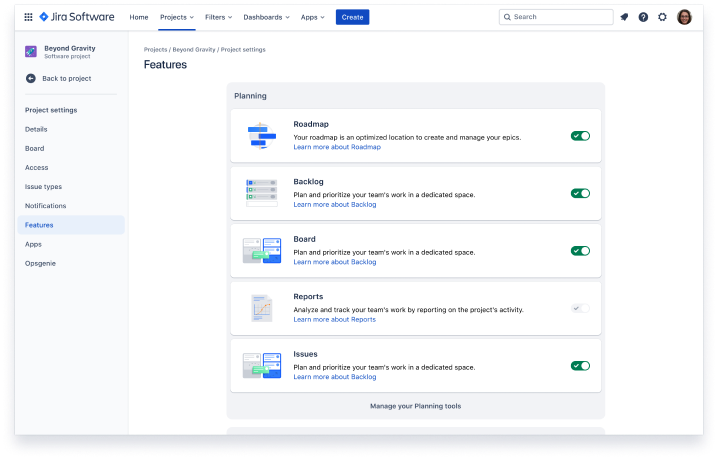
Under Project settings, go to the indiviudal feature pages (Code, Deployments, etc) toggle them on and off.
The Features tab is coming to company-managed projects soon!

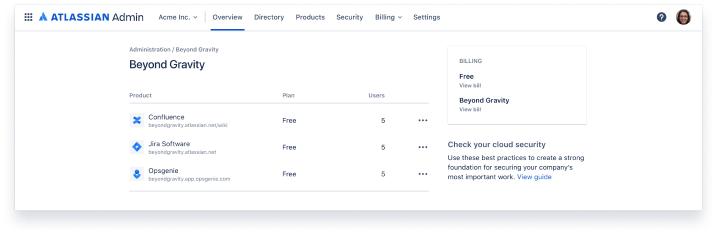
Manage access and permissions

Monitor product usage and billing
Add and remove individual users or entire groups
Want to add developers to Bitbucket? Learn how to grant repository access to users and groups.
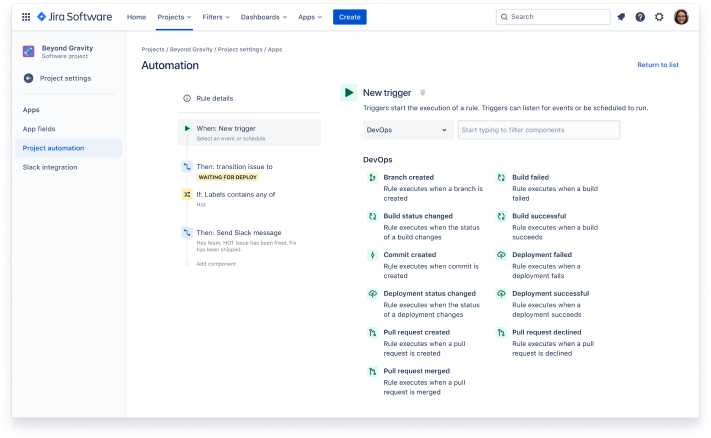
- Feature flagging
- Testing
- Security
- CI/CD
- Monitoring
- Code

Not sure if you have permission? You can request tools from your project admin with a few easy clicks.
Ready to dig deeper?
Check out more product guides.

Jira for developers

Better code with Bitbucket

Getting started with Confluence

Monitoring and operating with Opsgenie
Prefer learning visually?

Learn about Open DevOps in our demo video to get a sense of how your team might use it.