How Atlassian implemented its own multi-factor authentication library with time-based one-time passwords
In July 2022, Atlassian implemented 1time, the company’s own multi-factor authentication (MFA) library with time-based one-time passwords (TOTP), moving away from a previous MFA provider. MFA allows Atlassian accounts to enhance their account security by providing a second factor besides their password via apps such as Google Authenticator.

Previously, we used a standard library for the TOTP generation. But after thorough research into the Request for Comments (RFCs) that define the standards involved, the identity authentication team came across several problems. So, we decided to create our own library and make it available for open source use on GitHub. 1time allows us to effectively control and scale our security measures for Atlassian’s rapidly growing customer base.
Here’s a brief overview of what our implementation of TOTP generation does:
- Strictly implements the standards RFC-6238 and RFC-4226 (while working on this project, we found that many widely used libraries don’t fully follow the standards).
- Uses property based testing to extensively test a huge range of scenarios given the variables involved.
- Generates the TOTP URL defined by Google in Key Uri Format, which is needed to provide a QR code for the user to set up their second factor.
You can also check out the source code of 1time on GitHub!
An overview of TOTPs
Time-based one-time passwords are the preferred method for MFA over SMS/text verification codes for Atlassian customers. They are normally six-digit codes that expire after 30 seconds. The user gets prompted to type this code once their password is validated and then the server will validate the TOTP.
TOTP generation and validation has three main components:
- Random shared key: The server will generate a random key and convey it to the user via the setup QR code. Both the server and the user will share and store that same key. The user will have it stored by their authentication app of choice (Google Authenticator, for example). The server will have to store the
secret(the shared key) and link it to the identifiable user and possibly device. - Agreement of the Hash-based Message Authentication Code (HMAC) algorithm that both the server and client will use.
- Ability to obtain current time in unix time, or the total number of seconds since
00:00:00 UTC Thursday, 1 January 1970excluding leap seconds.
After every second-factor verification, the user will type in the code that they see in their authenticator app for the account. When that request reaches the server, the server will do the same: get the user’s key, generate TOTP given current time, and verify if they match.
This relies on defaults that the industry has agreed on:
- HMAC algorithm is
SHA1 - Time step size is 30 seconds
- TOTP length is six digits
Setup process
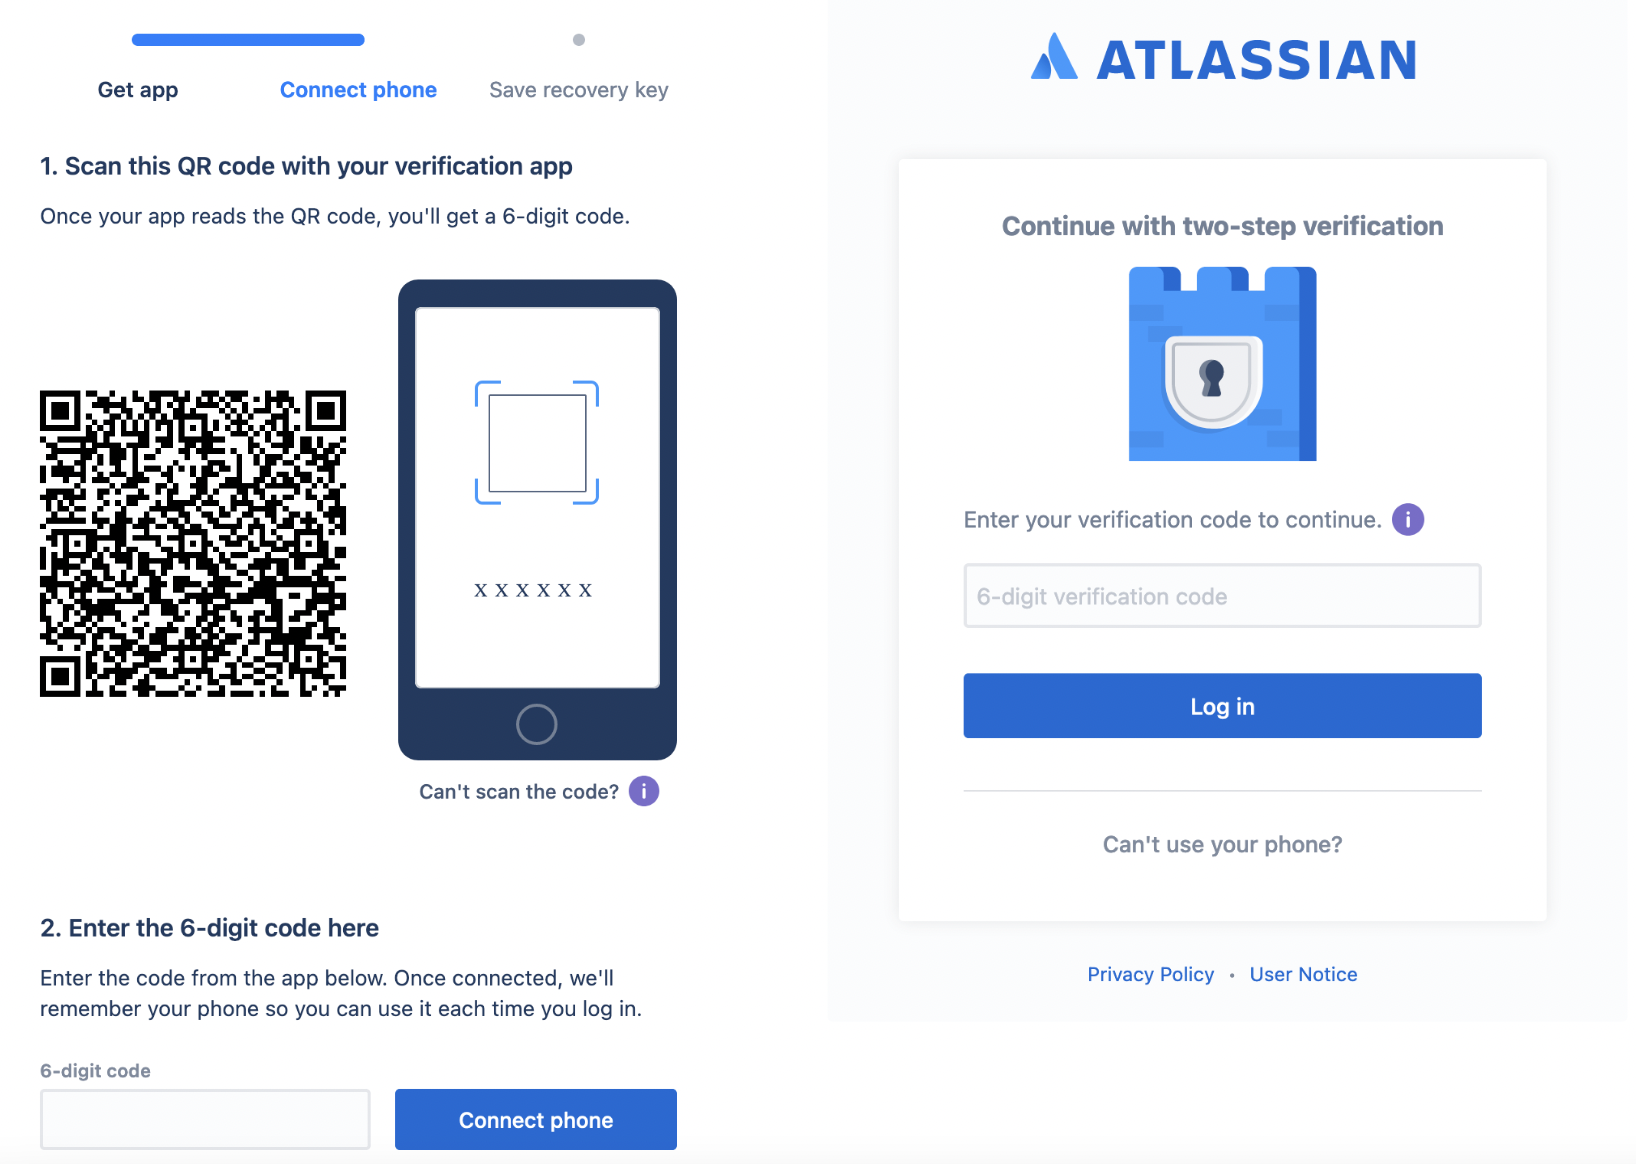
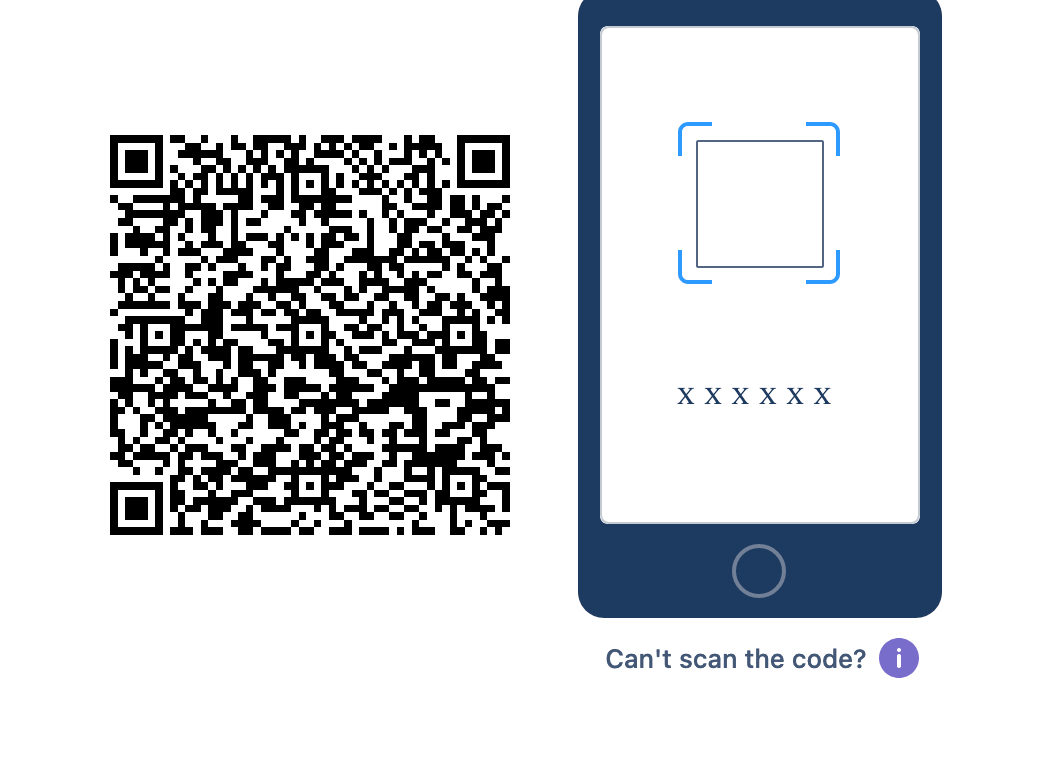
Users will set up TOTP MFA on their account by scanning the QR code using their app of choice. The QR code conveys the secret. At a minimum, the QR code contains this string:

otpauth://totp/jsmith%40atlassian.com?secret=4JCAVIMRQJBTEGNJS3T3BC4P6AXKCWNU&issuer=Atlassian
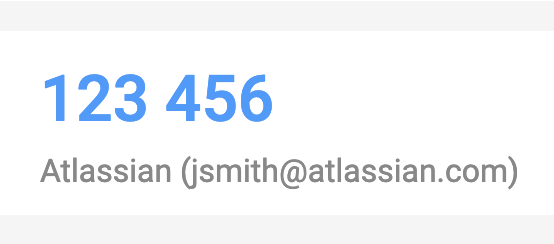
The app will present the current TOTP like this:

But, if you check the URL query parameters, there’s no mention of the HMAC algorithm, time step size or TOTP length. This because these authenticator apps fallback to defaults mentioned previously.
In 1time, we ship all possible arguments in the QR code, to make them explicit and cater for possible changes in defaults. So, upon enrollment, our solution will generate a QR like this:

otpauth://totp/jsmith%40atlassian.com?secret=4JCAVIMRQJBTEGNJS3T3BC4P6AXKCWNU&issuer=Atlassian&algorithm=SHA1&digits=6&period=30
After setup is successful, the user’s authenticator app will store the shared key to an email address. The backend will store the shared secret and link it to the user id.
Now, let’s dig into how the team implemented the backend TOTP verification logic and the problems that we found that led us to write a library from scratch.
Coding the backend
The first decision we had to make was whether to implement the whole RFC or use an existing library.
Scrutinizing the RFCs and the chosen library
The first library we selected seemed promising. It implemented TOTP generation with a key, which solved the HMAC problem. But upon further digging, we found that the library’s solution doesn’t strictly adhere to the RFC’s recommendations. One of the basic requirements is using Long when dealing with epoch seconds instead of Int. This is because the maximum value for a signed integer of 32 bits is 2147483647 and that integer value represents the epoch second for Tuesday, January 19, 2038 3:14:07 UTC time. So, at Tuesday, January 19, 2038 3:14:08 the value will overflow and start generating negative numbers, starting on -2147483648. If this value is used to generate a TOTP, then that TOTP will be valid for Friday, December 13, 1901 20:45:52.
This is how the library calculates current epoch time in seconds:
public int generate(final byte[] key){
    final int unixTime = (int) (System.currentTimeMillis() / 1000);
    final int t = (unixTime - startTime) / timeStep;
    return generateInternal(key, t);
}
Finding the moment the problem starts
We ran an experiment to confirm our suspicions and to check the behavior for both the library and our implementation for secret key C2PO7DAFS6XVJXNUS7GTMBEW7RBMSUL6 starting January 19, 2038 3:13:00, using an increment of 30 seconds on the clock by 30 seconds on each step for six steps.
A slight modification had to be made on the library to be able to simulate different timestamps since it doesn’t allow for that.
| # | Epoch second | Date | Timestep (T) | library calculated T | TOTP – library | TOTP – 1time | Match |
| 1 | 2147483580 | January 19, 2038 3:13:00 | 71582786 | 71582786 | 790912 | 790912 | Yes |
| 2 | 2147483610 | January 19, 2038 3:13:30 | 71582787 | 71582787 | 677929 | 677929 | Yes |
| 3 | 2147483640 | January 19, 2038 3:14:00 | 71582788 | 71582788 | 208697 | 208697 | Yes |
| 4 | 2147483670 | January 19, 2038 3:14:30 | 71582789 | -71582787 | 131446 | 224925 | No |
| 5 | 2147483700 | January 19, 2038 3:15:00 | 71582790 | -71582786 | 491481 | 698221 | No |
| 6 | 2147483730 | January 19, 2038 3:15:30 | 71582791 | -71582785 | 905273 | 882592 | No |
From January 19, 2038 3:14:30 (iteration 4) onwards, the library generates invalid TOTPs since it is generating TOTPs for the early 20th century. It’s also obtaining the current time using System.currentTimeMillis(). This introduces two problems:
Behavior for specific timestamps other than current is not testable.
The RFC provides a table with test data, indicating the expected TOTP for a given timestamp and the rest of the input. With this approach, you cannot test the test data provided in the RFC since you can only generate the current TOTP.
Clock drifts and network delays can’t be accommodated.
The RFC recommends that the system allows for the current 30 second window, the one before, and the following, to accommodate network delays or clock drifts. System.currentTimeMillis(), doesn’t follow this recommendation since it only generates the TOTP for the current 30 second window.
Here’s what it’d look like if we think of the valid TOTPs a user will ever get as an infinite stream of TOTPs in which the client only sees the current one (shown in the image on the left) and the server has a wider window (shown in the image on right):

Every 30 seconds, the stream moves one place from right to left on both the client and server. In the case of depicted above, both the client’s clock and server’s clock are in sync since the TOTP at the middle of the window (server) or at the window (client) are exactly the same.
The server’s window size is configurable, but at minimum it will be size 1, to precisely match the current TOTP.
If the client’s clock is a bit in the past relative to server’s clock, here’s what that would look like:

The client’s clock is slightly delayed relative to the server’s. In this scenario, the TOTP that is presented to the client is already old for the server. But not old enough. Since the server allows 3 windows, submitting the previous to current (current from server’s point of view) is valid.
This also applies for when the user’s clock is slightly in the future. The user will provide the current TOTP and when the server validates it, it will be the one after the current one. Since we also allow for a window in the future, the verification will be successful.
Allowing for multiple time windows also helps when the client application is very close to the next time window.

When the user inputs the number above, given network delays and latency, the server that validates it could be processing it at the next time step. If the server doesn’t allow the previous to current TOTP, the server will deem it invalid and the user will have to retry.
1time, defaults to one past window, one future window and the current mandatory window to mitigate these problems.
Magic numbers
Besides overflows and an inability to support multiple windows, we also came across a magic number. Magic numbers are a well-known anti-pattern. In this case, the unnamed numerical constant 19 in line 10 is restricting this library, forcing it to only work properly for SHA1 as an HMAC algorithm. It should work for SHA1, SHA256, and SHA512.
private int truncate(final byte[] hmac){
    final int offset = hmac[19] & 0xf;
    return
      (hmac[offset] & 0x7f) << 24 |
      (hmac[offset + 1] & 0xff) << 16 |
      (hmac[offset + 2] & 0xff) << 8 |
      (hmac[offset + 3] & 0xff);
}
The HMAC algorithm will produce 20 bytes when using SHA1, 32 bytes when using SHA256, and 64 bytes when using SHA512. Based on that output, the HOTP algorithm selects 4 bytes in order to obtain an Integer value, which will end up being the TOTP generated.
The way the algorithm defines this selection is to use the last byte of the output as an index. This index will indicate where to start picking the 4 bytes. Since the byte value is in the range of [-128, 127], the value is masked with & 0xf, capping its value at 15 inclusive. That’s the purpose of final int offset = hmac[19] & 0xf, to obtain the index that will indicate where in the byte array to start picking bytes from.
Here’s an example:

In this 20 bytes array, b19 is the last byte and will be used to obtain the index. Since it is used as the index, it’s excluded from the possible value range or selectable range, which is why the offset is capped at 15. In the case of the index value being 15, the bytes will be b15 b16 b17 and b18.
If the capped value at b19 is i=4, then the bytes will be b4 b5 b6 b7 to create an Integer out of those 32 bits. Further transformation will be done in order to obtain the 6 digit code out of this 32 bit Integer.
The problem with the magic number 19 in hmac[19] & 0xf; is that it’ll only work for HMAC-SHA1. If this code is used to generate a TOTP for HMAC-SHA256and then the client uses a different solution that uses the output length in order to select the last byte, the TOTPs will not match. This solution will use b19 for getting the index and the client’s app will use b31 for getting the index.
To make this work for all algorithms, it needs to use hmac[hmac.length - 1] & 0xf; so it always picks the last byte for calculating index/offset. 1time uses the last byte of the byte array of the HMAC output, regardless of its length.
Building 1time
The only dependency we use in 1time is Apache commons-codec to obtain the HMAC out of the shared secret and the counter.
Our solution is split into two main files:
- TOTPGenerator is the component that generates TOTPs with the shared
secret. It generates TOTPs for multiple windows, configuring the HMAC algorithm, TOTP length, and time step size. - TOTP Service is built on top of the generator to:
- generate the URL that’s needed to render the setup QR code.
- create
secretprovider functional interface with two basic generators, ASCII range key generator and random key generator (consumers of this library could use better random generators and implement this interface and use it in the service).
Testing our solution
In addition to testing our solution with the provided test data by the RFCs for HOTP and TOTP, we thoroughly tested 1time using property-based testing. We tested a wide range of all possible combinations for the inputs. We were able to specify a range and then generate arbitrary timestamps for that range. By using exhaustive generators, we were also able to test all possible values for TOTP length and hashing algorithms.
Generating relevant timestamps
Since our solution is used for current or future TOTP generation, it doesn’t make sense to generate test data for completely random timestamps. We narrowed down our random timestamps generations to the next 20 years. In the scatter plot below, the blue series shows 1000 random timestamps for the next 20 years.

We then improved this by allocating a small percentage of the generation into two other groups:
- Timestamps for
19/01/2038: This is the year for which the library presented an integer overflow. - Timestamps for
01/01/1970: The edge case for epoch time.
That is what we saw for the red series. There were three clear patterns: around 1970, around 2038 and from 2022 to 2042.
val arbDateNext20Years: Arb<LocalDateTime> = Arb.localDateTime(LocalDate.now().year, LocalDate.now().year + 20)

val arbDateAroundUnixEpoch = Arb.localDateTime(
  minLocalDateTime = LocalDateTime.of(1970, 1, 1, 0, 0),
  maxLocalDateTime = LocalDateTime.of(1970, 2, 1, 0, 0)
)

val arbDateForIntOverflows = Arb.localDateTime(
  minLocalDateTime = LocalDateTime.of(2038, 1, 19, 0, 0),
  maxLocalDateTime = LocalDateTime.of(2038, 1, 20, 0, 0)
)

val arbInstant: Arb<Instant> = Arb.choose(
  5 to arbDateAroundUnixEpoch,
  80 to arbDateNext20Years,
  15 to arbDateForIntOverflows
).map { it.toInstant(ZoneOffset.UTC) }
Testing the allowed time windows
For the delays (client is slightly in the past), we set the server clock at the end of current T. Then we calculated a random delay in the window of time between the start of the previous time step (or T – 1 ) and server clock to simulate an acceptable client delay in a range of two windows. In the example above, the calculated client clock ended up somewhere in the range of 30 to 90 seconds.
The following chart shows seconds on x-axis and time step in y-axis. Each time step is comprised of 30 seconds. T stands for the current time step. For simplicity, it show a range of 0 to 150 seconds, representing the first minutes in 01/01/1970 UTC time.

To allow a window in the future, we did something similar:

We set the server clock at the very beginning of T. Then, we calculated a random drift in the window of time between the server clock and the end of next step (or T + 1) to simulate an acceptable client drift in the future in a range of two windows. In the example above, the calculated client clock ended up somewhere in the range of 60 to 120 seconds.
Since our solution is customizable, we were able to change the parameters time step size, TOTP length, allowed past windows, and allowed future windows.
We also made sure we could generate all possible values for these variables during our tests:
test("should validate TOTP with future drift") {
  checkAll(
          arbInstant,
          arbOtpLength,
          arbTotpSecret,
          Arb.int(30..90), // time step
          Arb.int(0..3)    // future steps
        ) { time, otpLength, secret, timeStep, allowedFutureSteps ->
    ...
    }
  )
}arbOtpLengthgenerates all possible lengths (6 to 10)arbTotpSecretgenerates random ASCII keysArb.int(30..90)generates a random integer in the range 30..90 to test if custom time step sizes work properly with multiple window validationArb.int(0..3)generates a random integer in the range 0..3 to test different configuration of reasonable future windows.
I hope this post is helpful for those of you looking to implement your own MFA TOTPs and for those interested in getting a peek into the kind of work identity authentication teams do at Atlassian!
