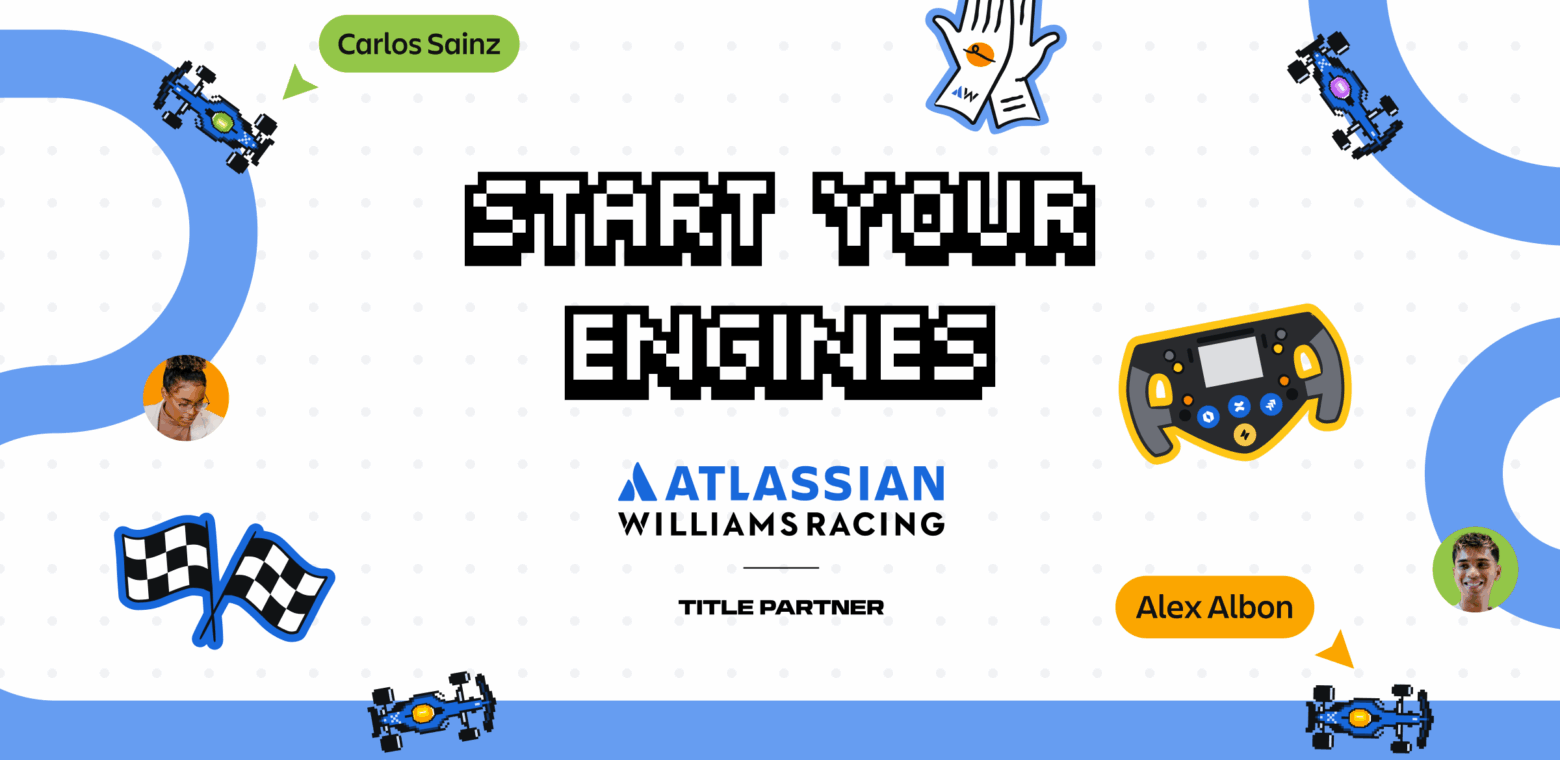
Discover how we built Race Mode, a mini-game in Confluence whiteboards, combining play, performance, and fun for teams.
We recently shipped Confluence Race Mode: a mini-game inside of Confluence whiteboards allowing you to race a car around a circuit, right on your whiteboard. Inspired by our partnership with Williams Racing, this easter egg initially began as a project for ShipIt (our 24 hour in-house hackathon). Play is serious business: one of our core values at Atlassian is that we play as a team, and research has shown that play brings teams together, even boosting productivity by up to 20%.
Watch Atlassian Williams Racing driver Alex Albon play Race Mode below and try it out for yourself at wb.new/racing


In this blog, we’ll take a tour of how our architecture enabled us to quickly ship from idea to reality, and go behind-the-scenes on what it takes to build a mini-game. We’ll cover how we modelled behaviour with an Entity Component System, handled inputs using a state machine, achieved framerate-independent acceleration, and created delightful visuals and music to elevate the experience!
Entity Component System and Finite State Machines
Race Mode leverages our existing Entity Component System (ECS) architecture and Finite State Machine (FSM) input handling pipeline within Confluence whiteboards. These techniques enabled us to build with high performance and precise, reliable game inputs. In one sense, you might say we’d really been optimising our codebase for a game all along.
![]()
As a light refresher, ECS is a commonly used game programming pattern, composed of the following concepts:
- Entity: a bag or collection of components, without any notion of identity
- Component: small pieces of data, used to model a behaviour or attribute
- System: a class which queries for entities with particular components and operates on them
Let’s walk through an example for our game (note: all code examples are illustrative only and do not represent complete production-ready code).
We can start by defining some components which denote certain traits or key data attributes:
/**
 * Indicates whether an entity should be kept centered on the screen
 */
export class CenterOnScreenComponent {}

/**
 * Represents the velocity vector of the car in terms of its x and y components
 */
export class VelocityComponent {
  declare x: number;
  declare y: number;
}
These components can be attached to an entity, which represents the car. Our car may also contain:
- a position component, representing where it currently is on the whiteboard
- a rotation component
- a visual component representing the asset to render
… and so on!
Now, we can create a system to handle the responsibility of controlling the car. Much like in regular programming, we want to split apart system responsibilities based on the single-responsibility principle. As an example: for the entity which matches a query for a set of components (i.e., the race car), we want to accelerate it by writing to the velocity component, either adding or subtracting to the velocity.
/**
 * Simplified racing car control system, demonstrating ECS architecture.
 */
export class RacingCarControlSystem {

  /**
   * Query for any entities with certain components
   */
  car = queryFor(CenterOnScreenComponent, VelocityComponent);


  /**
   * Accelerates the car forward or backward.
   *
   * In ECS: systems modify component data attached to entities.
   */
  accelerateCar(thrust: 'forward' | 'backward') {
    // Extract the components we need to modify
    const velocity = car.write(VelocityComponent);
    const rotation = car.write(RotationComponent);

    // Calculate acceleration direction based on car's rotation by splitting
    // apart the x and y components of the acceleration magnitude
    const accelerationX = Math.cos(rotation.rotationInRadians) * 10;
    const accelerationY = Math.sin(rotation.rotationInRadians) * 10;

    // Modify the velocity!
    if (thrust === 'backward') {
      velocity.x -= accelerationX;
      velocity.y -= accelerationY;
    } else {
      velocity.x += accelerationX;
      velocity.y += accelerationY;
    }
  }
}
What we’ve now ended up with is the ability to accelerate the car entity by changing its velocity vector. Following this, you can envision several other systems which:
- take the current velocity vector, and changes the car’s (
x,y) position on the whiteboard - check the car’s rotation component, and render the car asset with the same rotation
- increase the friction if the car leaves the track, and slows the car down
… and so on!
Next up is the input side. To ensure key presses are processed without delay and to support multiple simultaneous key inputs (like when accelerating while steering), we must handle the key events manually, rather than relying on default browser behaviour. This is because the frequency of repeated keydown events depends on the browser or operating system’s implementation, whereas for a game we want immediate feedback in response to user inputs.
We use the keydown event to start a continuous update loop and the keyup event to stop it, and define state transitions to go between states according to these inputs. Below is a slice of our state machine definition:
const stateMachine = (context: Context) => {
  return builder()
    ...
    // When the car is in the 'accelerating state'
    .state('accelerating', (s) =>
      s
        // When we receive a keyboardUp event
        .when('keyboardUp', (t) =>
          // If the car is still accelerating
          t
            .if(isAcceleratingKey)
            // Transition to the idle state
            .to('idle')
        )
        // When we receive a keyboardDown event
        .when('keyboardDown', (t) =>
          t
            // If we have an active turning key pressed (left/right/top/bottom arrow)
            .if(isTurningKey)
            // Continue accelerating
            .to('accelerating')
        )
        // Reset when the user leaves the tab
        .when('pointerLeave', (t) => t.if(always).to('idle'))
        // When we enter or are already in the accelerating state, invoke the onAccelerate handler
        .on('enter', onAccelerate)
        .on('execute', onAccelerate)
    )
    .build();
};
Both of these are well-established patterns in how we build features; the crucial part is figuring out the business logic!
Feature encapsulation and preloading
Another key aspect of whiteboards today is feature encapsulation. Every feature contributed to whiteboards is an independent TypeScript package which consolidates the ‘vertical concerns’ of a feature into a cohesive unit – one which automatically gets wired up to all crucial touchpoints across our app such as the ECS, collaborative editing layer, and our rendering pipeline. This approach allows us to cleanly separate features, keep relevant assets organised together, and easily manage rollouts.
We could effectively reduce the broader ‘footprint’ of Race mode to a one liner:
// other packages above
app.init(raceMode);
// other packages below
Further, to deliver more seamless gameplay, Race Mode dynamically loads its necessary assets like UI components, fonts, sounds, etc. before the game starts, but notably does not block the app startup (ensuring the initial load and interactivity of whiteboards remains speedy). This approach minimises in-game loading times, and ensures that transitions such as starting the race feel faster.
export const racingCarsPreloader = (preloader) => {
  // Begin loading all relevant assets to the feature
  preloader.scheduleAll({
    backgroundMusic: { ... },
    engineSound: { ... },
    racingCarComponent: { ... },
  })
};
Building a delightful experience
Gameplay
Everyone working on this game was passionate enough to sneak in some nifty delighters along the way!
For starters, while evolving the physics of the racing car’s movement, we noticed that the car’s rotation could be turned way up to simulate a spin-out. We adapted this behaviour to become the false-start penalty – try holding down the accelerate key right before all the lights have gone out to see what happens!


Next, we noticed that users on machines with more capable hardware or monitors with higher refresh rates moved faster than others on slower machines. This is because we initially accelerated the car each frame or ‘game tick’, making the physics tied to the framerate. In other words, at 120 FPS, a car would move twice as fast as a car at 60 FPS (a common problem in game development: even some major games tie their physics to their framerate)! To account for this, we employed a technique where we update the game’s physics by the real time delta that has elapsed between consecutive frames, rather than a constant amount each tick. This way, a car driving at 120 FPS (with 8.33 ms between frames) would drive at the same speed as at 30 FPS (33.33 ms between frames).
class RaceControlSystem {
  // ...

  private getFramerateIndependentScale = () => {
    // this.timeDelta: the duration between the execution times of the current and previous frames
    // TARGET_FPS: the target frame rate for the game, i.e. 60 FPS
    return this.timeDelta * TARGET_FPS;
  };
}![]()
Game design also requires a lot of playtesting. We needed to tune the car’s acceleration, friction, and turning rate. A very useful technique we employed through development was the addition of a tuning panel, letting playtesters adjust the car settings to their liking faster than waiting for a code change to deploy. We decided on a ‘drifty’-feeling car after collating these settings, offering some challenge whilst still feeling fun to drive.


To keep the competition fair as well, we implemented a lightweight anti-cheating mechanism with some playful messaging for those that are caught, since we noticed racing sessions sometimes devolved into who can cheat the fastest time!


Visuals and sounds
Our talented designers created some incredible visuals and sounds with great care. For instance, the lever toggle button to activate Race Mode was modelled after the motion of a spring with a mass and damper!

Lastly, the background music and sound effects were crafted for Race Mode in an authentic 8-bit NES chiptune style using a single instrument: the ES2 Synthesizer. Every sound – including engine revs, countdowns and skids – were designed to be lightweight, fit the game’s retro aesthetic, and be perfectly loopable (the latter requiring the use of the Web Audio API). Have a listen to some of the sample assets below:
By building Race Mode on top of these robust foundations, we not only delivered a delightful mini-game, but also demonstrated our extensible architecture and the flexibility of the Confluence whiteboards platform.
Play Race Mode in Confluence whiteboards now at wb.new/racing