

Incident management for high-velocity teams
Automating customer notifications with Opsgenie and Statuspage
In this tutorial, learn how to take an alert you’ve created in Opsgenie and use it to generate an automated message through Statuspage. This integration keeps customers informed and reduces manual work so you can focus on the incident at hand.
Audience:
DevOps, IT teams, support, and communications professionals – anyone who needs to communicate updates during an incident or outage.
Time:
10 minutes
Prerequisite:
You’ll need access to both Opsgenie and Statuspage. You can preload most of these settings with trial accounts. To use the automation features, make sure your trial is set to Standard or Enterprise. To check this, click on the rocket ship icon from the left hand navigation.
Step 1: Add an integration in Opsgenie
In Opsgenie, all integrations are set up through Teams. If you don’t yet have a team set up, click Add Team at the top right of the Teams screen to create one. Enter a team name and description. Once saved, you can select the team and start your integration by choosing Integrations and then Add Integration.
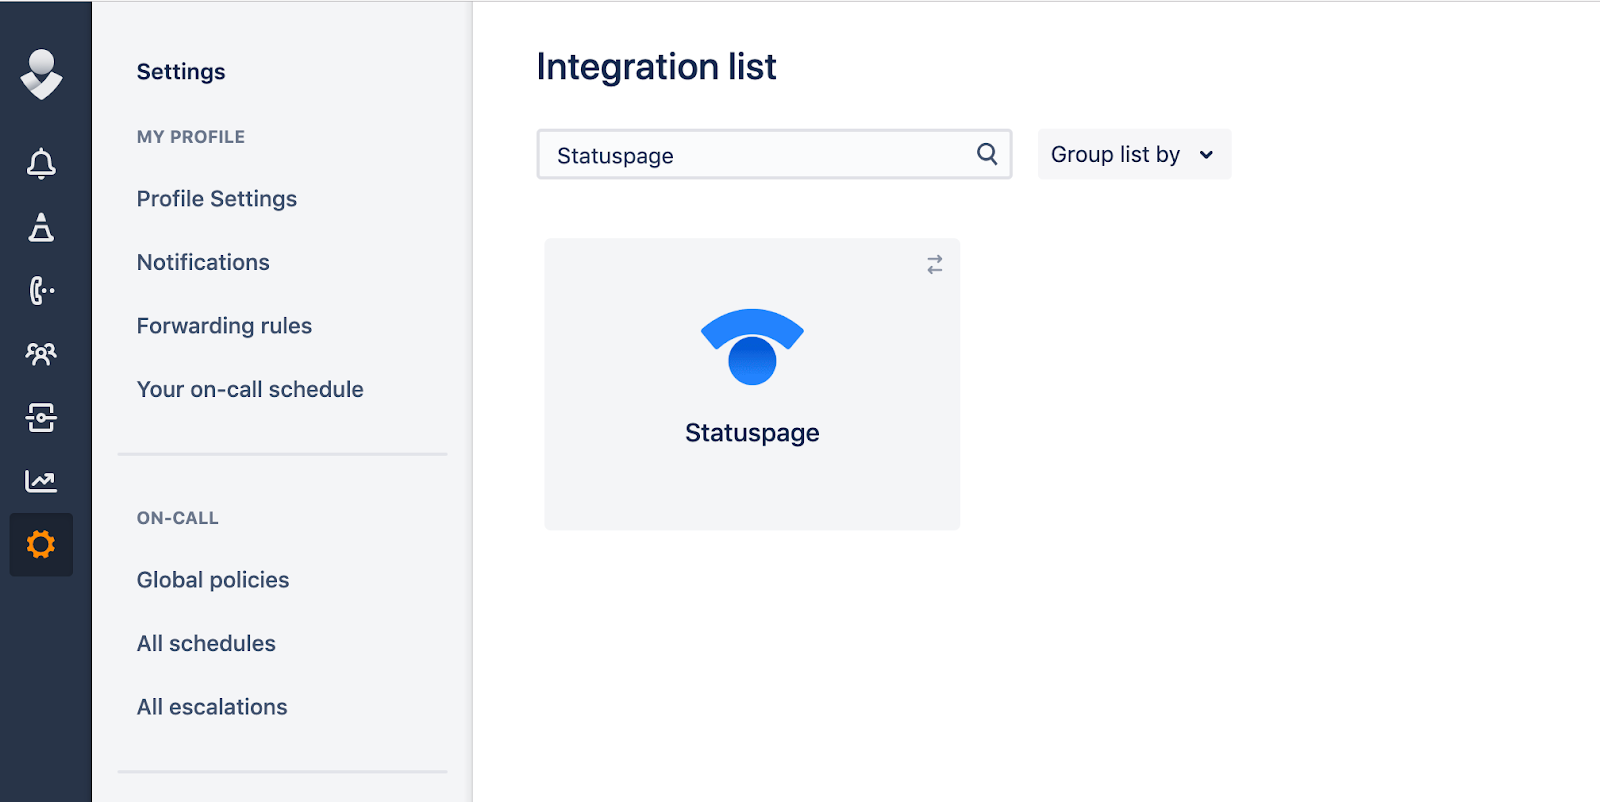
Type Statuspage in the search bar to open the Statuspage integration set-up page. Copy the API URL. You’ll need this to confirm the integration in Statuspage.

Step 2: Connect your integration in Statuspage
In a new window, open your Statuspage account. If this is a new account, the system will walk you through setup before you get to your dashboard. Once you’re at the dashboard, go to Subscribers and click WebHook at the top of the page.
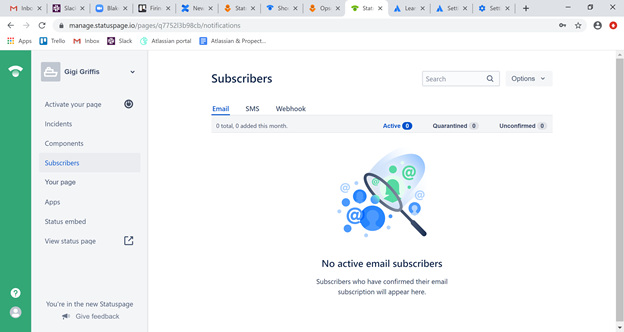
If there is a message saying your Webhook notifications are disabled, click Reactivate Now. A pop-up will appear to let you reset your subscriber notification settings. Check the box for Webhook and the box that allows users to subscribe to individual components and save.
Back on the Subscribers page, click Webhook again and choose Options > Add Subscriber. The subscriber type should be Webhook. The endpoint URL is the URL you noted above from the Opsgenie integration page. Enter the subscriber type, URL, and email, then click Add Subscriber.
Return to the Subscribers page and click Webhook. You should see the listing you just added. Click on the URL to manage it. Under Manage Subscriptions, you can choose which components (for example: your API or a customer portal) this integration is notified for.
Step 3: Configure your Opsgenie-to-Statuspage settings
Return to the window where you started your integration in Opsgenie. Below the setup instructions, there should be a section called Settings. (If you don’t see this section, check to make sure that you are using a trial of the Standard or Enterprise plans.) Tick the boxes for Send Alert Updates Back to Statuspage and Create Statuspage Incidents for Opsgenie Alerts.
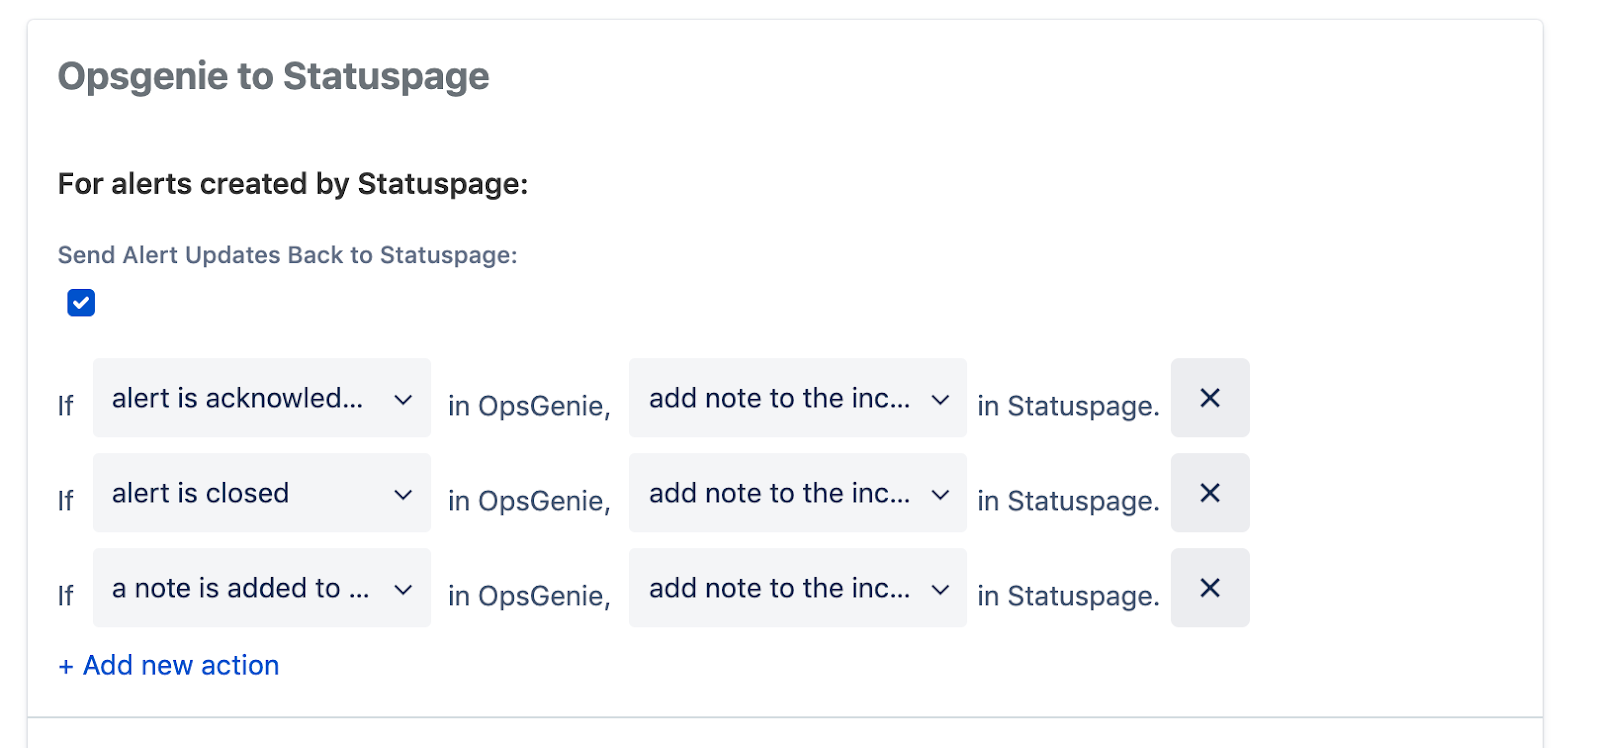
Under For alerts created by Statuspage, there should be several fields that begin with If….
Use the drop-down menus to make sure the first two read as follows:
1. “If a note is added to…in Opsgenie, add a note to the incident in Statuspage.”
2. “If alert is closed in Opsgenie, resolve the incident and update the components’ statuses according to tags.”
You can delete the third If… statement.
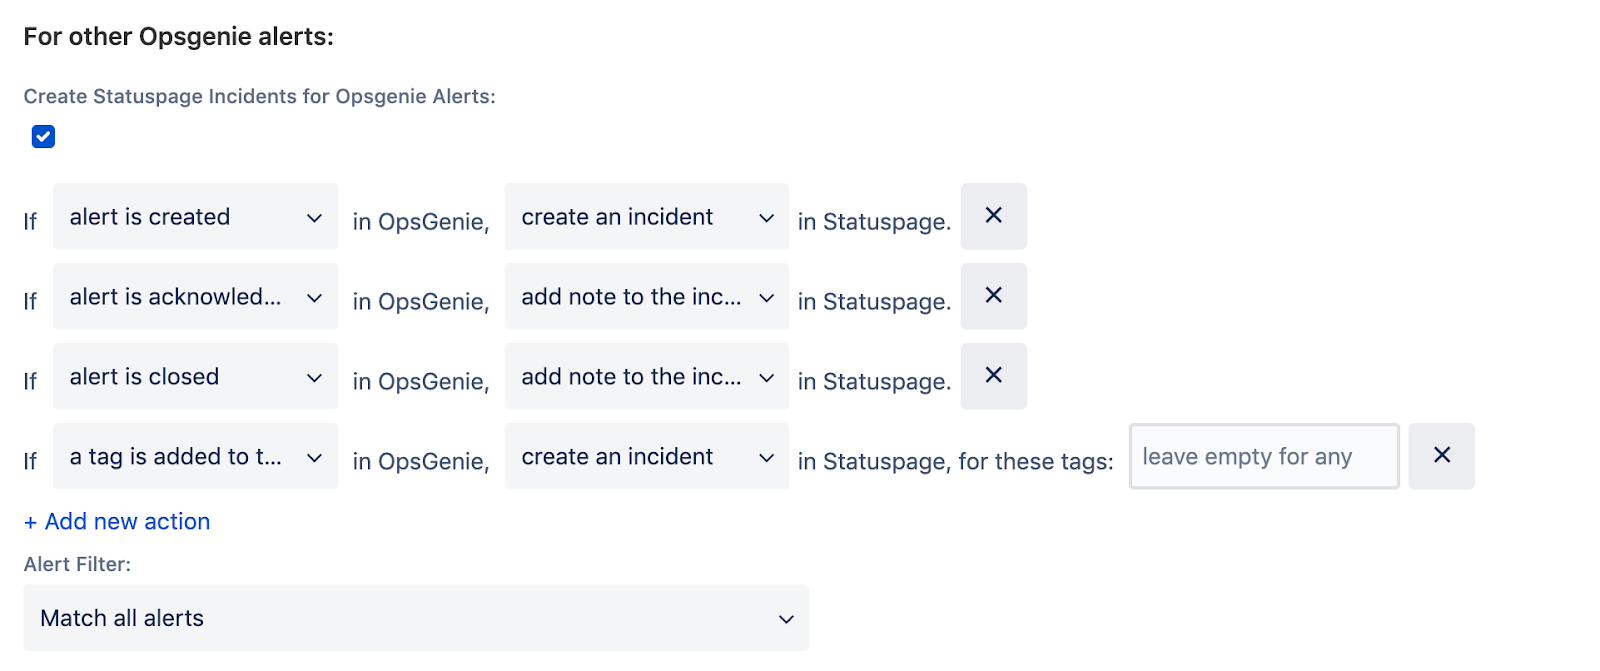
Under For other Opsgenie alerts, there are several similar fields. Use the drop-down menus to make sure the first two read as follows:
1. “If alert is created in Opsgenie, create an incident and update the components’/incident’s statuses according to tags.”
2. “If alert is closed in Opsgenie, resolve the incident and update components’ statuses according to tags.”
You’ll be using tags to automatically change the status of components during incidents, and this setting ensures those components will be updated individually based on those tags.
Finally, before saving your settings, you’ll need to add your Statuspage API key and Statuspage page ID…

Products Discussed

Centralize alerts, and notify the right people at the right time.
Setting up an on-call schedule with Opsgenie
In this tutorial, you’ll learn how to set up an on-call schedule, apply override rules, configure on-call notifications, and more, all within Opsgenie.
Read this tutorialThe Atlassian Incident Management Handbook
This handbook features the real incident management processes we've created as a global company with thousands of employees and over 200,000 customers.
Read this article